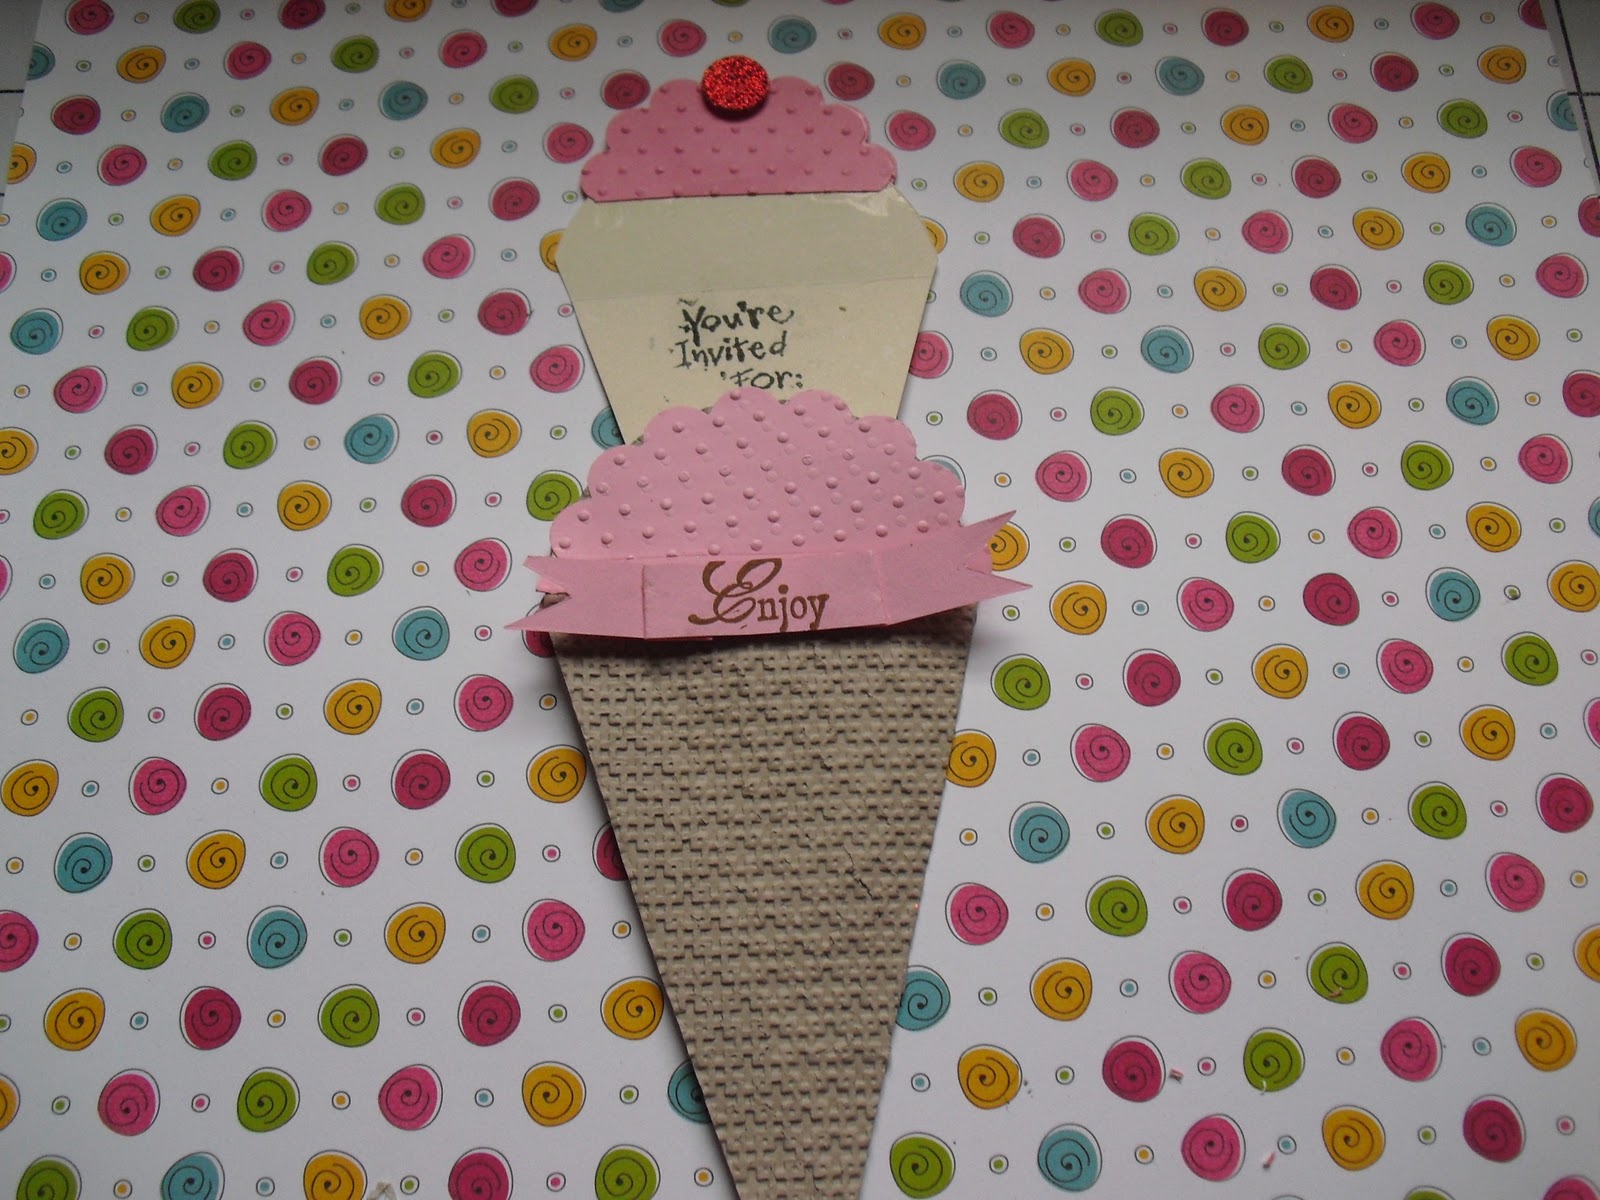
Good Friday morning everyone. I have a few more projects made with the Petal Cone die. These two ice cream cones look good enough to eat. Each one is slightly different. The one on the left side is a two scoop cone. It is sealed so that the invite inside pops out. You just have to pull the cherry. The one on the right is a birthday card that opens on the side to reveal a birthday wish.
This is the fantastic Petal Cone die (#1218109) that you cut out on the Big Shot machine by Stampin' Up. I used Early Espresso card stock (CS) to cut the petal cone.
Then I embossed the petal cone with the Square Lattice embossing folder (EF) (#119976) to give it that wafer look. Added some sticky tape to the left side and closed it.
I cut another petal cone using Vanilla CS, cut it in half for one triangle and stamped the invite information. I cut the sides of this piece approximately 1/4" each side, so that it would slide in easily into the embossed cone.
I used the 3" scallop circle punch to create the ice cream topping for the cone. Ran it through the Big Shot using the Perfect Polka Dots EF. Cut it in half and then glued one to the front and one on the back of the petal cone.
Also punched a scallop circle with the 2-3/8" punch, embossed it, cut it in half and glued it to the vanilla CS using a small tab of CS on both the front and back of this piece.
Cut any excess off the tab, so that it does not show.
Now you're ready to insert the invite into the ice cream cone.
How about a cupcake instead? Isn't this too cute! To make the cupcake you basically follow the same instructions as the ice cream cone. Except for the top of the cupcake I cut a 3- 1/2 inch circle on the Cricut with designer paper. Fold the circle in half and with the scallop square die run the folded side of the circle through the Big Shot to create the bigger scallops. You could also use decorative scallop scissors.
Cut approximately 2-1/2 inches off the bottom of the Petal Cone to make it look like a cupcake. Added a pretty ribbon and a small tag tied with hemp cord. This one can be used as a birthday card and the inside sentiment also pops out.
Let me know if you liked all these projects made with the Petal Cone die. I've enjoyed making them. As a Stampin' Up demonstrator we are privileged to share ideas with other demonstrators on the Stampin' Connection. This is where I have seen these great ideas.
Have a blessed weekend and come back on Monday for more fun projects.
Sending you embossed hugs, Erlinda


6 comments:
Wow Erlinda de verdad que cuantas cosas se pueden hacer con el die!! me encanto el cupcake.
cecy
Your blog is so fab!!!
I am a new follower thanks to Momo :-) would be great if you could pop by my blog too :-)
www.misspinkcricut.blogspot.com
Wow love your blog, creations and music
Momo sent me
I am now your new follower
If you would like to visit me
http://www.lindaspinkcraftroom.com/
Hi Erlinda! You have some adorable projects, TFS! I too am a SU demonstrator :)
Momo sent me and I would love it if you could stop by as well...
Hugs from your newest follower,
Karen
http://reflectionsofapaperaddict.blogspot.com
what a wonderful idea. thanks for sharing. i'm a new follower came from momo's site.
http://craftywithjoann.blogspot.com
Love your project!! Momo sent me over and I am now your newest follower. Hope you will stop by and visit me too!
http://smilin2.blogspot.com
Post a Comment