Monday, March 21, 2011
Thoughts of Encouragement
Don't live with your treasure undiscovered and don't die with the treasure still in you. Press forward. Give birth to the dreams and desires that God has placed in your heart.


Friday, March 18, 2011
BAPTISMAL CARD

I am involved in our church's baptismal ministry and I work with families wanting to baptism their children. It is a process of approximately three months and I work closely with the parents in preparing for the Sacrament of Baptism. At times it feels like its taking too long, but I finally have a family that is ready. I wanted to make them a card to congratulate them and this is what I made.
 |
| Lattice BigZ Trellis (#115958) |

From the lattice shape I cut out a cross.
Also used the Top Note die and cut out the image on the Big Shot. Then embossed the Top Note with the Vintage Wallpaper embossing folder (EF).
 |
| Top Note die (#113463) and Vintage Wallpaper embossing folder (#120175) |
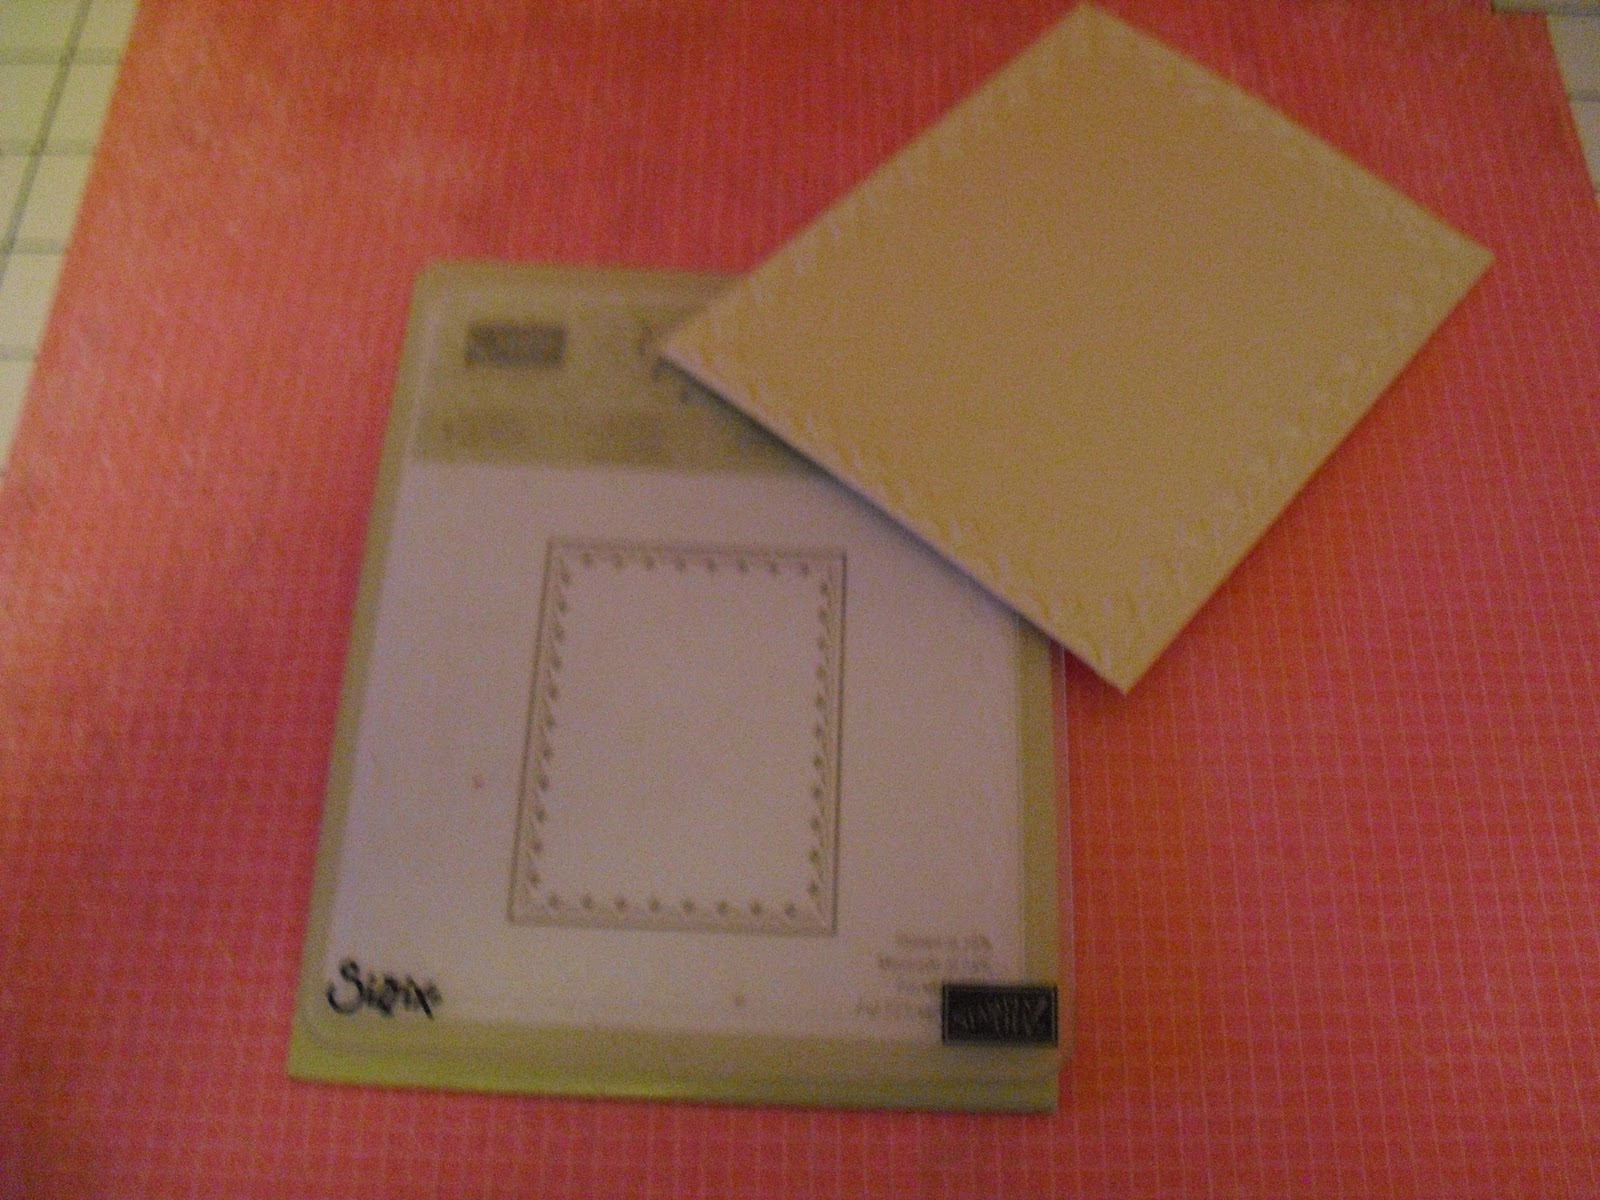
Took a 4" x 5" piece of Vanilla CS and embossed it with the Framed Tulips EF to give it a beautiful frame.
 |
| Crosses of Hope (#120567) and Modern Label punch (#119849) |
Using the stamp set Crosses of Hope I stamped the verse in brown ink and shaded the edges. Then mounted it at the bottom of the card. Added a few rhinestones and my card is done.

Thank you for stopping by, have a great weekend, and may
"God Bless You."
Thursday, March 17, 2011
Beautiful Card Holder - Part II


Come back and visit me soon.
Embossed hugs, Erlinda
Thoughts of Encouragement
In every moment of every day, God is by my side delighting in me, encouraging me, lifting me and calling me to step into all of the wonderful things He has prepared for me.
Wednesday, March 16, 2011
Beautiful Card Holder - Part I

I was very happy with how my card holder came out. I used the new "Lady Couture" stack by DCWV. I fell in love with this designer paper when I saw it at Michaels. As you will see it has some gorgeous designs.


We've reached the half way point, so what do you think so far? I'm ready to start another one as soon as I get some free time. I promise to post the second half tomorrow, so come back and visit.

Embossed hugs, Erlinda
Thoughts of Encouragement
Keep God's incredible promises front and center in your life every day. They can be found in your bible, if you only take time to read them.
Tuesday, March 15, 2011
Thoughts of Encouragement
Seek the Kingdom of God above all else, and live righteously, and He will give you everything you need. -- Matthew 6:33
Monday, March 14, 2011
BLOSSOM PETALS REVISITED

Remember a couple of weeks ago I posted a card made with the stamp set "Build a Blossom" (#121994). At that time I didn't own the Blossom Petals punch that coordinates with this stamp set. Well I can scratch that one off my "wish list"-- I finally got the punch. I made the flower for this card with the punch and the embossing folder (EF) Vintage Wallpaper.
 |
| Framed Tulips (#121809) |
 |
| Finial Press (#115963) |


With a brayer I distressed the CS with Eggplant Envy ink. This gives the design a very nice finish.
 |
| Blossom Petals punch (#121808) |

 |
| You're a Gem stamp set (#122270) |


Which one do you like best? I think any color would look great. I'm going to try yellow and white CS for the next couple of Blossom Petals I make.

I learned how to make these flowers watching the below video:
Thanks for visiting my blog. I appreciate you spending time with me.
Embossed hugs, Erlinda
BEAUTIFUL BUTTERFLIES

 |
| Beautiful Butterflies (#114507) |
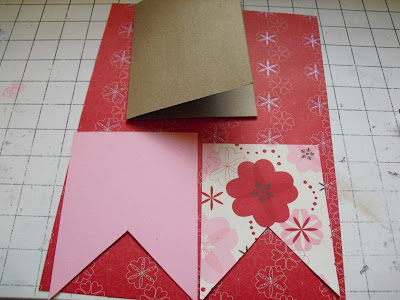
For the base of the card I used kraft card stock (CS). Then I mounted Pretty in Pink CS cut at 4" x 5". I measured 2" from the bottom of this piece and cut from the edge to the middle (2" mark) to form a triangle. Using the Sending Love (#117153) designer paper (DSP) cut at 3 3/4" x 4 3/4" repeat the same as steps to form another triangle.

 |
| Back view of butterfly |
To form the antenna of the butterfly I used black crafting wire which I taped to the back of the butterfly with clear Scotch tape.

I added a pearl to the head of the butterfly and its ready to fly. Tomorrow I have another butterfly card using the Beautiful Wings embosslit.
Thank you for stopping by and I hope you can come back again.
Embossed hugs, Erlinda
Friday, March 11, 2011
BLISS


 | ||
| Bliss (#123217) |

Same card made with Perfect Plum and Pale Plum CS. I added lots of tiny pearls to both the motif and the butterflies. Stamped the word "friend" from "You're a Gem" stamp set (#122270).

 | ||
| Framed Tulips embossing folder (#121809) |
Embossed hugs, Erlinda
Thoughts of Encouragement
Father, I don't want to be a doubter; I am a believer. I trust You to lead me in the right direction as I break through the barriers in my mind. Thank you, Father, that You have good things in store, not just for me, but for my entire family!
Thursday, March 10, 2011
SCALLOP CIRCLE CARD
 |
| Sending Love DSP (#117153) |
 |
| Scallop Circle (#113468) |
 |
| Flower Folds (#115970) |


The DSP is double sided so I alternated designs and mounted the three cut flowers to the scallop circle, added a white silk flower and a pearl to finish my card. Hope you like it.

Thanks for visiting and come back again soon.
Embossed hugs, Erlinda
Thoughts of Encouragement
If you don't think your dreams will ever come true, they never will. If you don't think you have what it takes to succeed and set a new standard, it's not going to happen. The barrier is in your mind.
Wednesday, March 09, 2011
FUN FLOWERS

 |
| Fun Flowers die (#121812 |
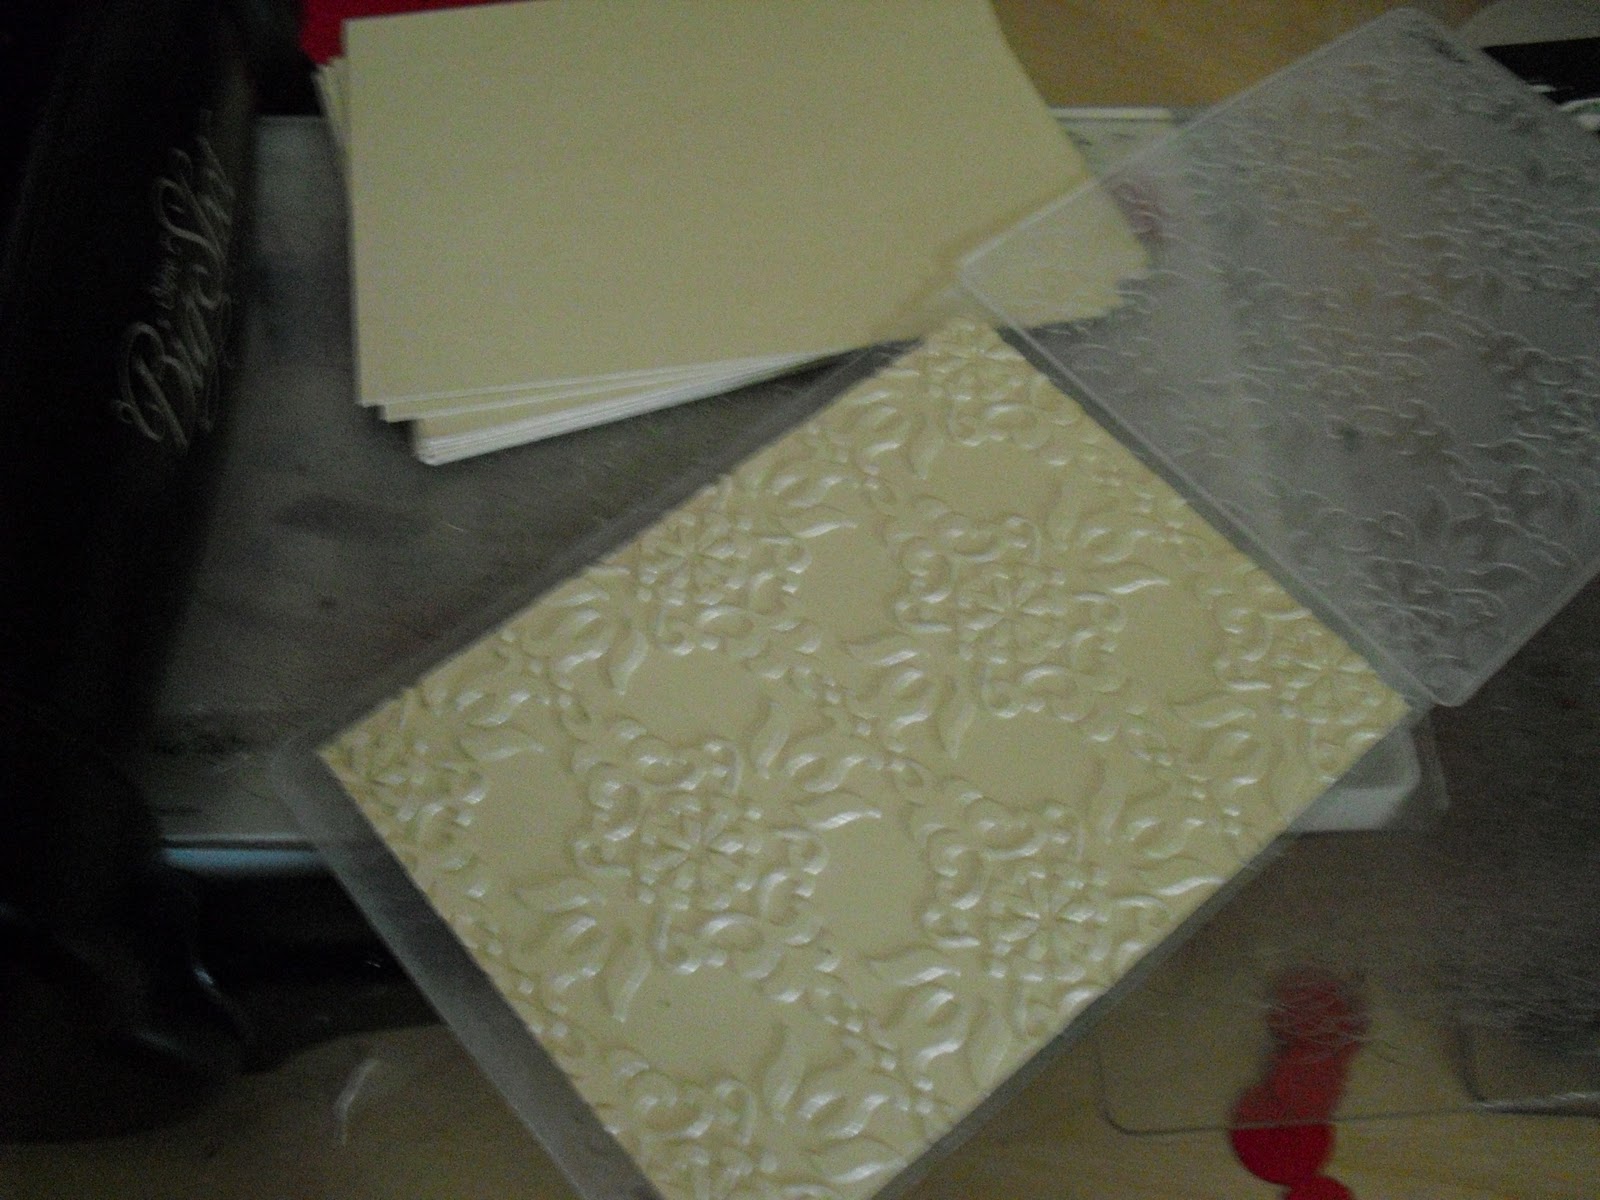 |
| Vintage Wallpaper EF (#120175) |

You layer the three flower shapes on top of each other. I curled and shaded the edges with brown ink. Then glued a pretty red heart button to the center of the red flower. Mount the embossed CS onto a kraft card base and then add your flower to the card.
 |
| Well Script stamp set (#118601) & Decorative Label punch (#120907) |


Now you're ready to glue the cut labels to the back of the original stamped label leaving about a 1/4 of an inch of each label showing.

This is the view of the back and front of the label. I placed mounting tape on the back of the label and adhered it to my card. Also, added a small piece of Chantilly ribbon (#118480) and my card is done.

I am looking forward to attending the shoebox card swap. This is the first time this group will meet on a monthly basis. The card swap will take place the second Thursday of each month. For additional information visit Vicky's blog @ http://kreation-korner.blogspot.com.
Come again and let's share some time creating.
Embossed hugs, Erlinda
Subscribe to:
Posts (Atom)


 Posts
Posts