You can't control the actions of others, but you surely can control your reaction. No matter what someone does or says to you, you have the power to control your response.
Tuesday, February 15, 2011


Monday, February 14, 2011
BASKETS & BLOOMS


For the bottom, fold all the way around the circle. Open up the basket, remove the sticky tape and insert the circle into the basket. With the bone press around the circle to adhere to the basket.

With the heart punch I punched out a few hearts from the glitter paper and designer paper. Next, I embellished the basket with these hearts. Added pretty ribbon and I'm done.

Thought for the Day:
I would give up chocolate but I'm no quitter!!
Friday, February 11, 2011
MATCHBOX MINI SCRAPBOOK

 |
| STEP 1 |
 |
| STEP 2 |
 |
| STEP 4 |
 |
| STEP 3 |
 |
| STEP 5 |
 |
| STEP 6 |
 |
| STEP 7 |
 |
| STEP 8 |
 |
| Front View |
 |
| Side View |
Directions:
1. Cut three of the bottom parts of the Stampin' Up Matchbox die in any solid color card stock.
2. Crease all score lines on all three boxes with a bone. Make sure you crease well.
3. Fold in the sides first and then the top and bottom. No need to add adhesive. The box will stay in place without adhesive, love it.
4. Cut three strips of heavy designer paper (DSP) at 3" by 6 1/2" and using the Matchbox die cut the covers for the matchbox. Crease all three pieces well with the bone.
5. Add red sticky tape to the smaller end of this strip and assemble all three covers. Insert the bottom box into each of the covers to form the matchbox.
6. Cut another piece of coordinating DSP at 2 3/4" by 4 1/2". Adhere a 20" piece of ribbon to the back of the DSP.
7. Adhere red sticky tape to each of the boxes on one side. Then center the three boxes on top of the ribbon and wrap the DSP around all three boxes.
8. Tie a pretty bow and now you're ready to embellish, embellish and decorate the entire Matchbox Mini Scrapbook to your liking.
 |
| Open View |
I realize this was a lengthy tutorial, but I think it was worthwhile. I hope you liked this project. Now go and enjoy some creativity and thanks for stopping by.
 |
| Added more embellishments |
 |
| THE END |
Thoughts of Encouragement
“Dear Heavenly Father, show me how to slow down, and to work with purpose. Help me start afresh each day, and patiently do the tasks You have assigned me. Train me to concentrate on the important things in life. Teach me that above all else, my aim is to glorify Your name….”
Thursday, February 10, 2011
Ghiradelli Purse Holder


Cut a 6 x 6 Designer Series paper by Stampin' Up to 3" x 6" and score on the 3" side @ 2 1/2 on both sides. At the 6" side score @ 2" and 2 1/2". Crease all score lines.


Cut the two small score lines to the 2 1/2" inch mark. Add sticky tape to the sides flaps as shown in the picture. Adhere the small tabs to the sides with mono-adhesive.


Peel the sticky tape off the side flaps and close the box. Then cut off the top two side flaps
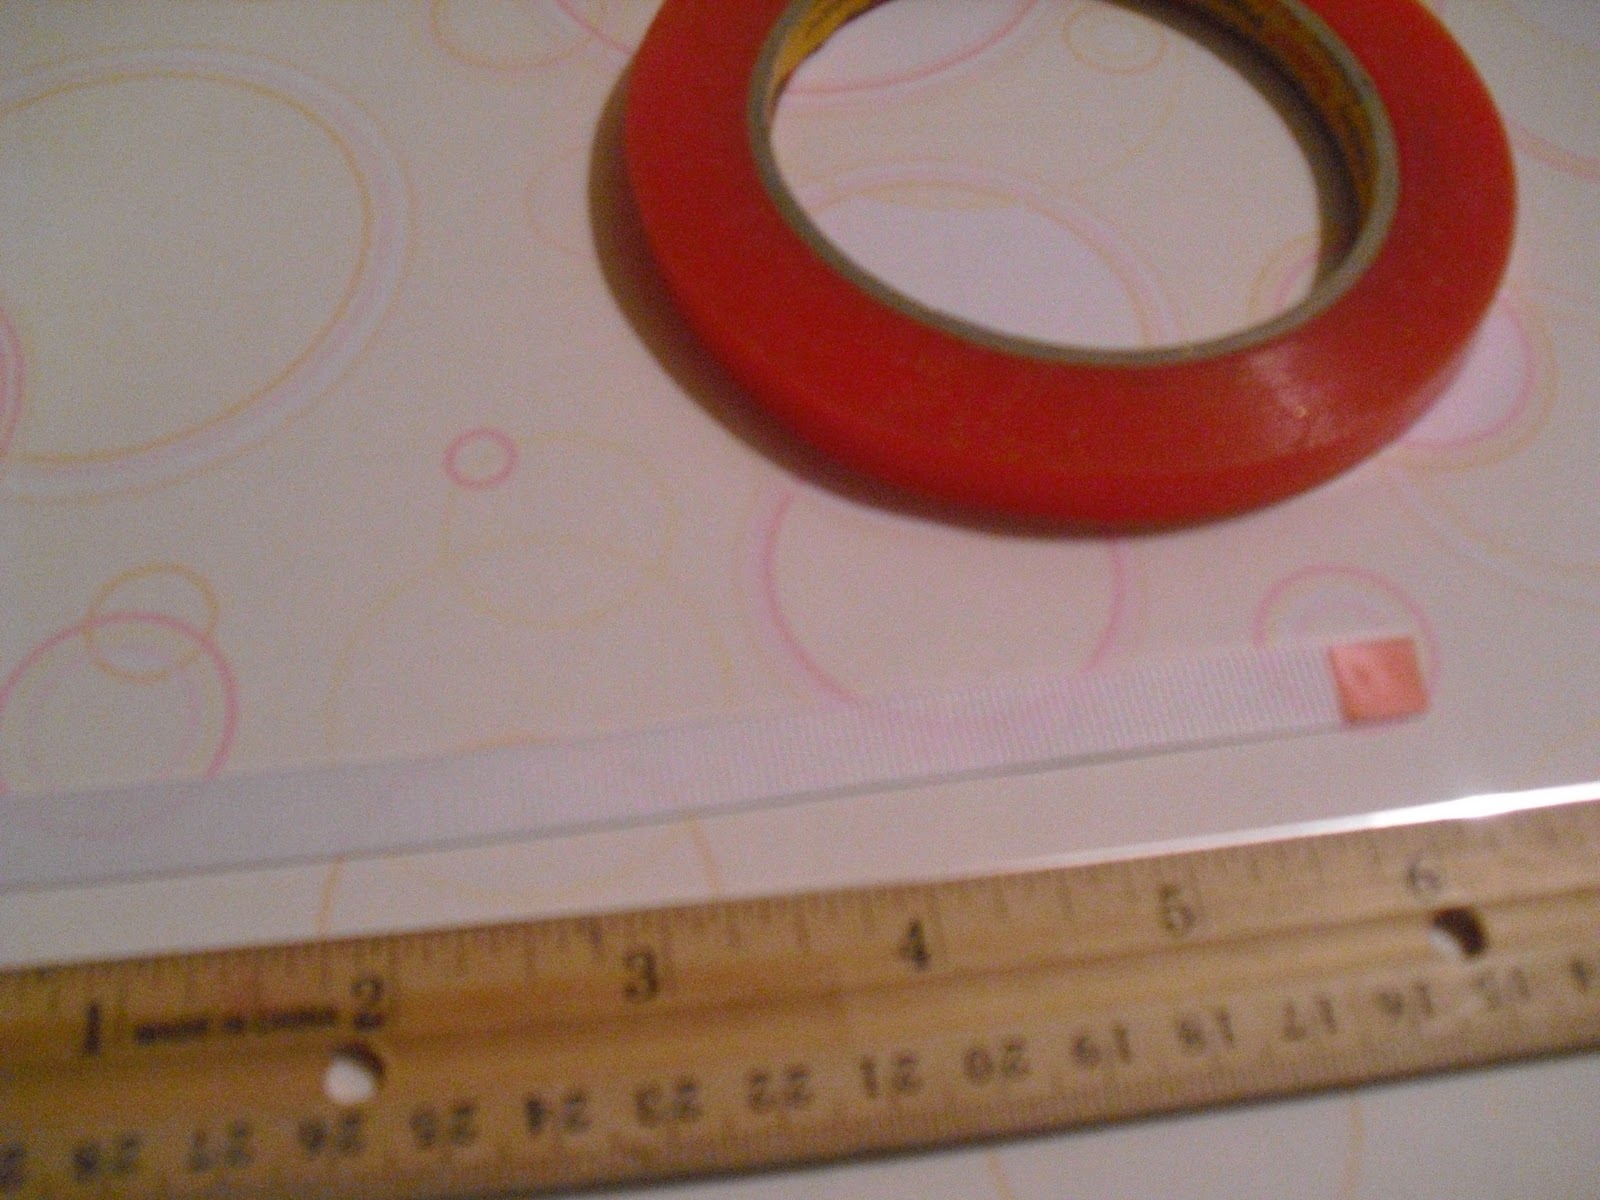

Cut 6 inches of ribbon and place a tiny piece of sticky tape to the ends. Adhere the ribbon to the sides inside of the box. Punch a 1/4" hole in the center of the top flap and add a decorative brad. Corner round the sides of the flap. Place a piece of velcro on the inside flap covering the brad.

Hope you're motivated to make a few of these cute purses to give out for Valentine's Day. If you have any questions, be sure to leave me a comment. Hope you have a great day!

Wednesday, February 09, 2011
3RD GRADE


I cut the numbers on the Cricut with the Plantin SchoolBook cartridge with the Roly Poly key at various sizes in three different color card stock.


Thank God this layout was fast and easy. One down and five to go (one for each of the grand kids). Last minute projects usually work out better. Let me know if you liked this layout.
Thoughts of Encouragement
When we get tangled up in our problems, be still. God wants us to be still so He can untangle the knot.
Tuesday, February 08, 2011
ALTERED KIDS STORY BOOKS


So of course, on my way home from the Super Bowl crop, I stopped at the Dollar Tree Store and purchased a few kids' books for $1 each.

I measured the book and cut pieces of designer paper (DSP) that coordinated and covered each of the pages. I used regular glue sticks and they adhered really well to the book pages.
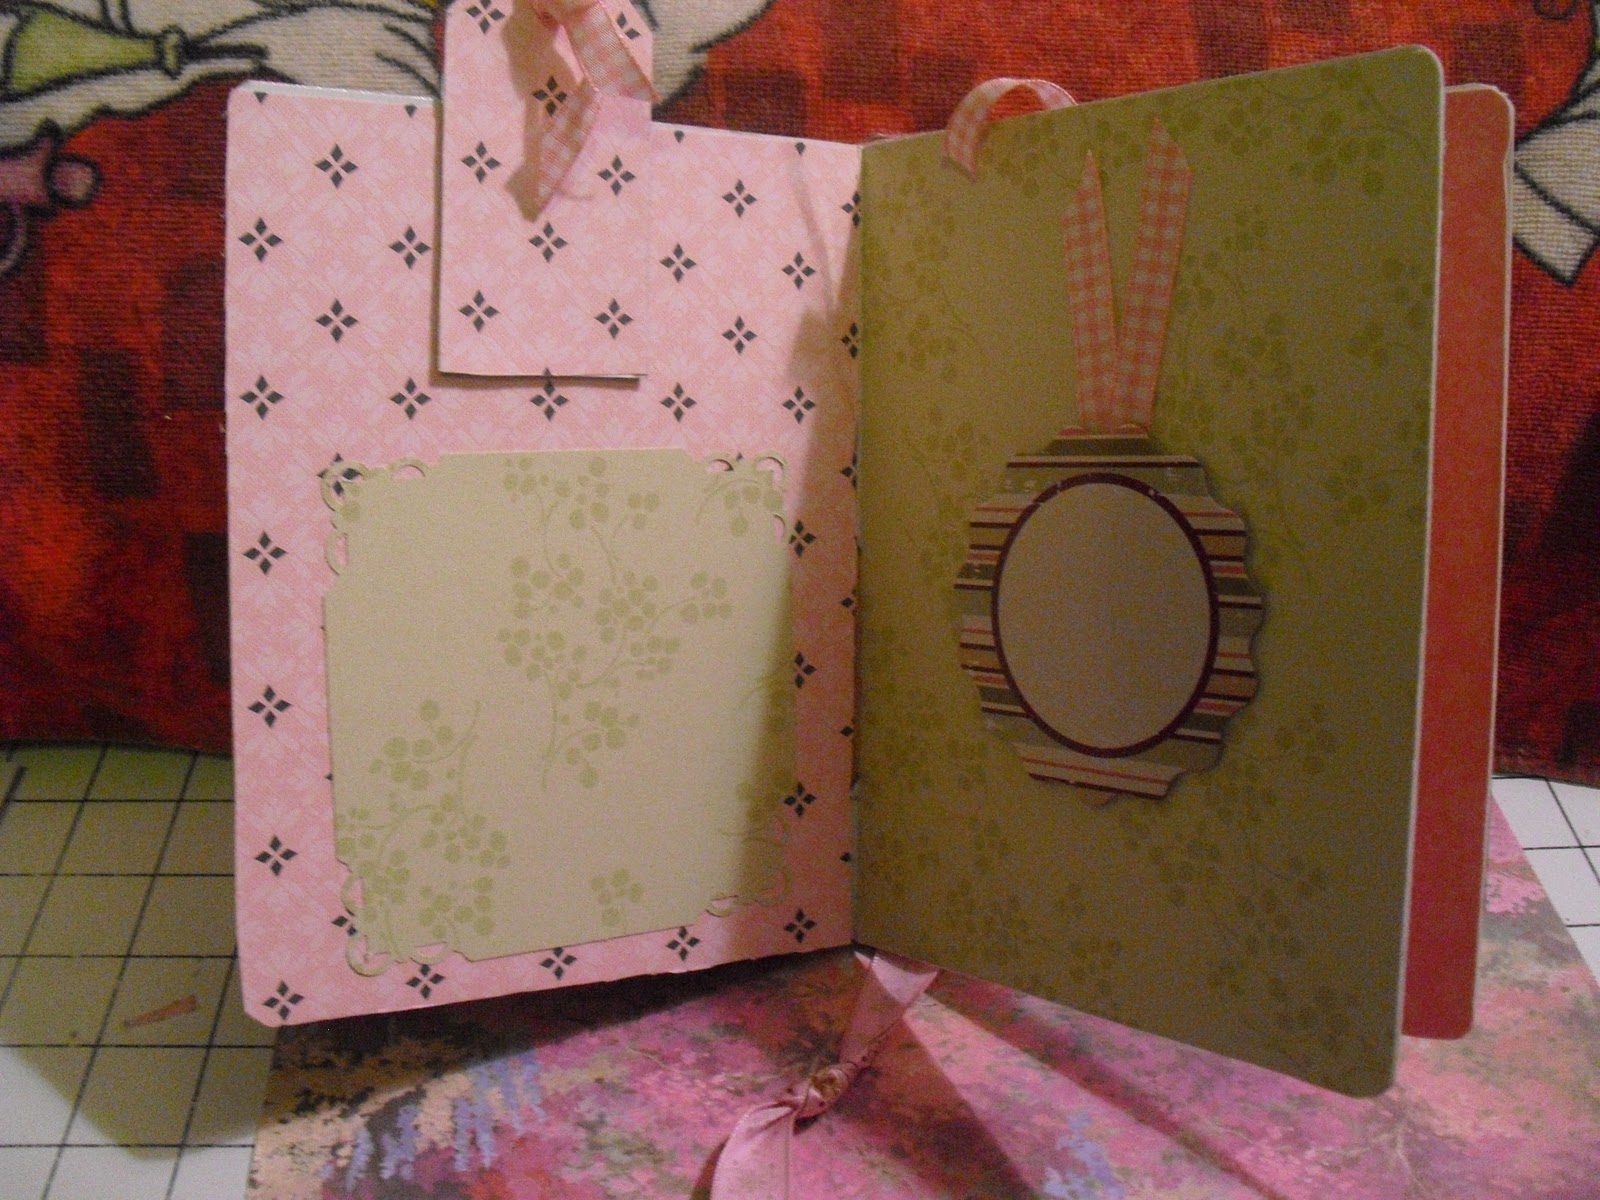
I used decorative chipboards that I had on hand and added ribbon. I haven't decided if I'm going to make this a cook book, journal or exactly how to use it.

Once I glued the DSP to the pages, I also sanded all the edges to give it a nicer finish.

On this page I used the Scallop Trim edge punch and the Top Note die, both from Stampin' Up. I added ribbon to the rim of the book which is also a bookmark. My friend Lisa gave me this idea and I liked it.

I haven't really quite finished my book. I don't know whether to make it a Recipe Book. Leave me comment and let me know what you think.

Monday, February 07, 2011
Beautiful Sisters


I had the opportunity to sit next to some really nice ladies at Scrappin' Time and connecting with them. I'm hoping I get to see them again. Thanks ladies for sharing.

Today, I am meeting with the Divine Divas to scrap some more. Life is good when you can scrapbook three days in a row. Hope you'll come back tomorrow. I have a cute idea to share with you.
Subscribe to:
Posts (Atom)


 Posts
Posts