CLICK HERE FOR FREE BLOG LAYOUTS, LINK BUTTONS AND MORE! »

Tuesday, March 22, 2011

PAPA & MAMA LAYOUT

When I bought this kit I knew I wanted to dedicate it to my father and mother.  I could not believe the price on this kit which I picked up in the clearance aisle at Michaels--only $2.99.  It is a Recollections "My Ancestry." 
The kit did not come with the bottle caps or the metal keys.  Those I had in my "at home" collection and I thought they went really well with the layout.
I think I've acquired a love for clocks and watches while making this layout.  I love the way they look.  The black lace ribbon was also from my own collection.
The die cuts in this set are great.  The antique look just drew me to buy it.  I added game spinners by Tim Holtz's idea-ology collection to the clock and it gave it that special touch.
The beautiful butterflies were another reason this designer paper caught my attention since butterflies are my favorite.
I added this beautiful black satin pleated ribbon, that I forgot where I bought, but it went really well with this layout.  I was glad I was finally able to use it. 
Now I just have to find pictures of my parents to place on this adorable layout.  I may have to twist my sister's arm to get her to send me some pictures since she has most of my parent's albums.  

Well that's my project for the day.  I hope you liked it and are motivated to create something yourself.  Thanks for visiting and come back soon.

  Sending you embossed hugs, Erlinda

Thoughts of Encouragement

You cannot hang out with negative people and expect to live a positive life.

Monday, March 21, 2011

PETAL CONE DIE

Although the weather was not the greatest here in Vegas, my weekend was wonderful.  My daughter had a Tupperware party Friday night and my son Eddie was serving up the margaritas.  Everyone had fun.  Then on Saturday morning, I attended a Women's Retreat that helped me reflect on myself.  Later that day the house was filled with friends who came to make Easter cards.  I enjoyed their company and it looked like everyone enjoyed making the cards.  Sunday started out with attending church and listening to an inspiring sermon.  Later, I attended a free Crop (I love Free) so my entire weekend was filled with special moments and for this I am grateful.
Petal Cone BigZ die (#121810)
One of my newest toys is the Petal Cone die by Stampin' Up.  I am amazed at how many things you can make with this great die.  I tried my hand at making three projects for you to view.  I was inspired by my upline Sandy Hancock and all the great projects she posts. 
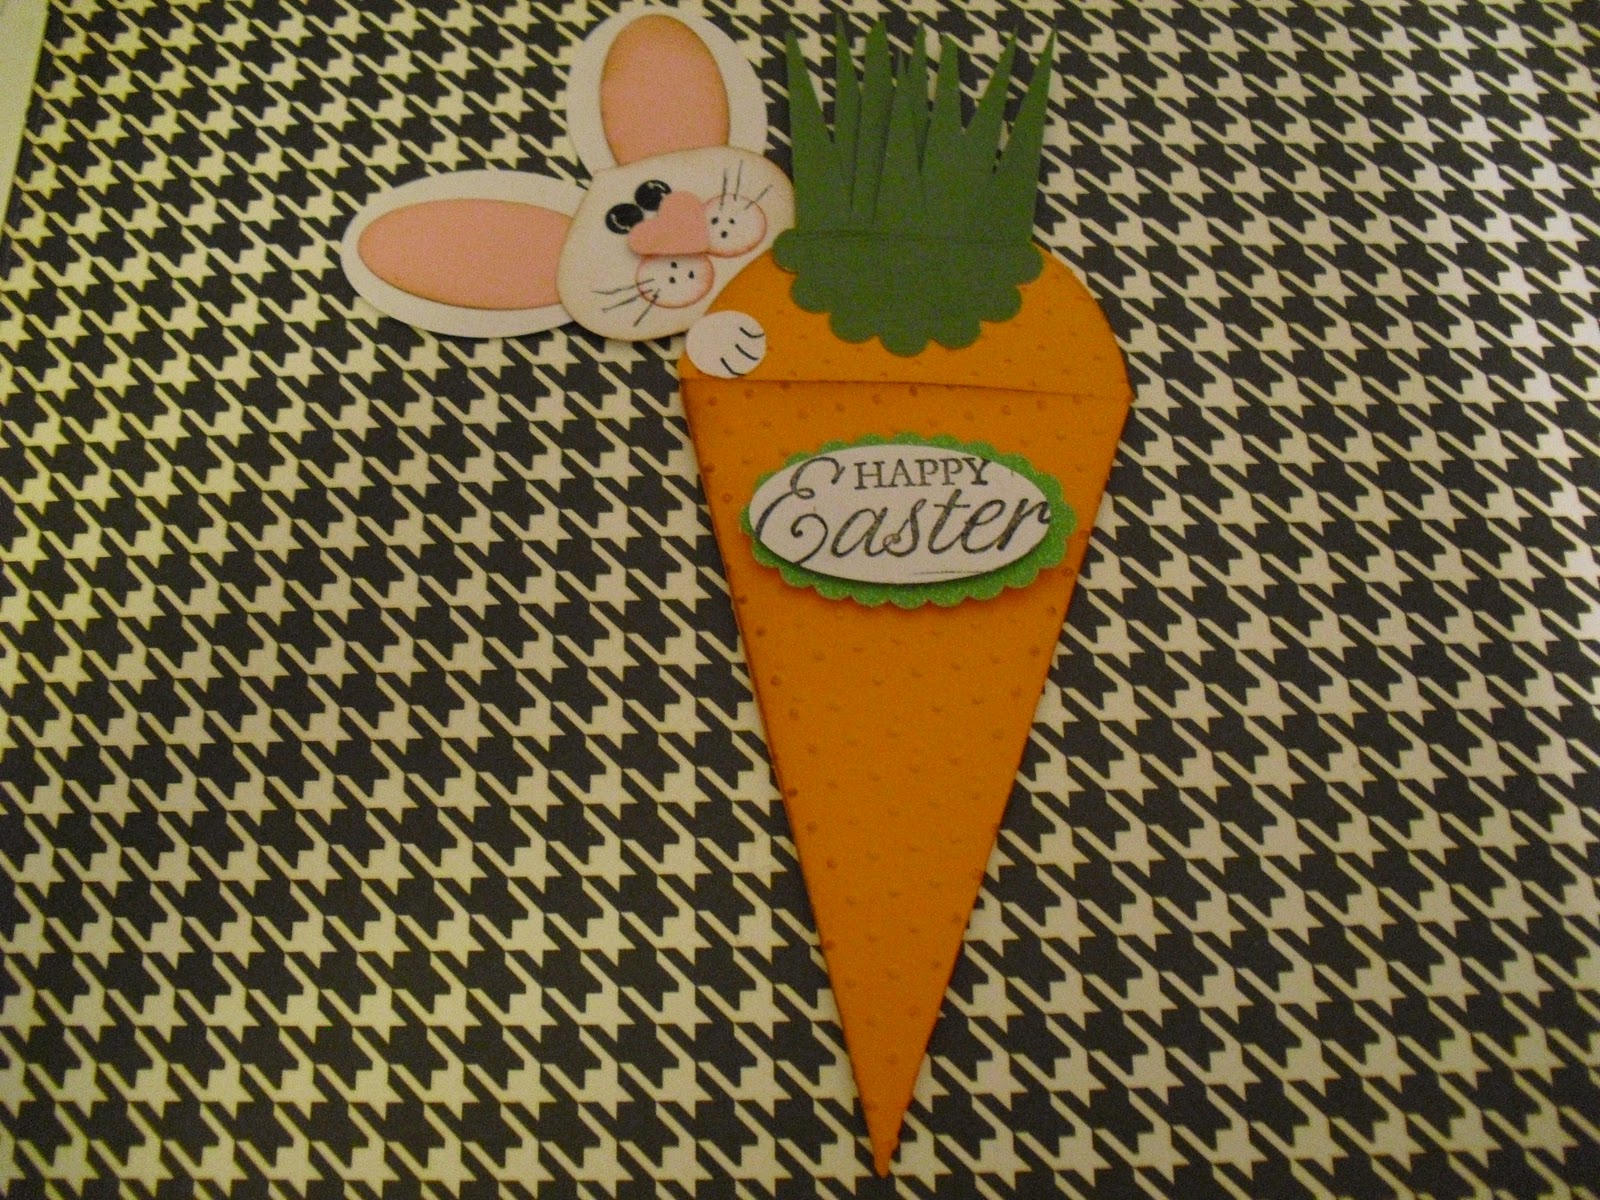
I made two carrots with the die. The first one had the cute bunny on it.  The bunny was created with different Stampin' Up punches and it was easy to make.  The second carrot is made with two Petal Cones glued together to form a box. 
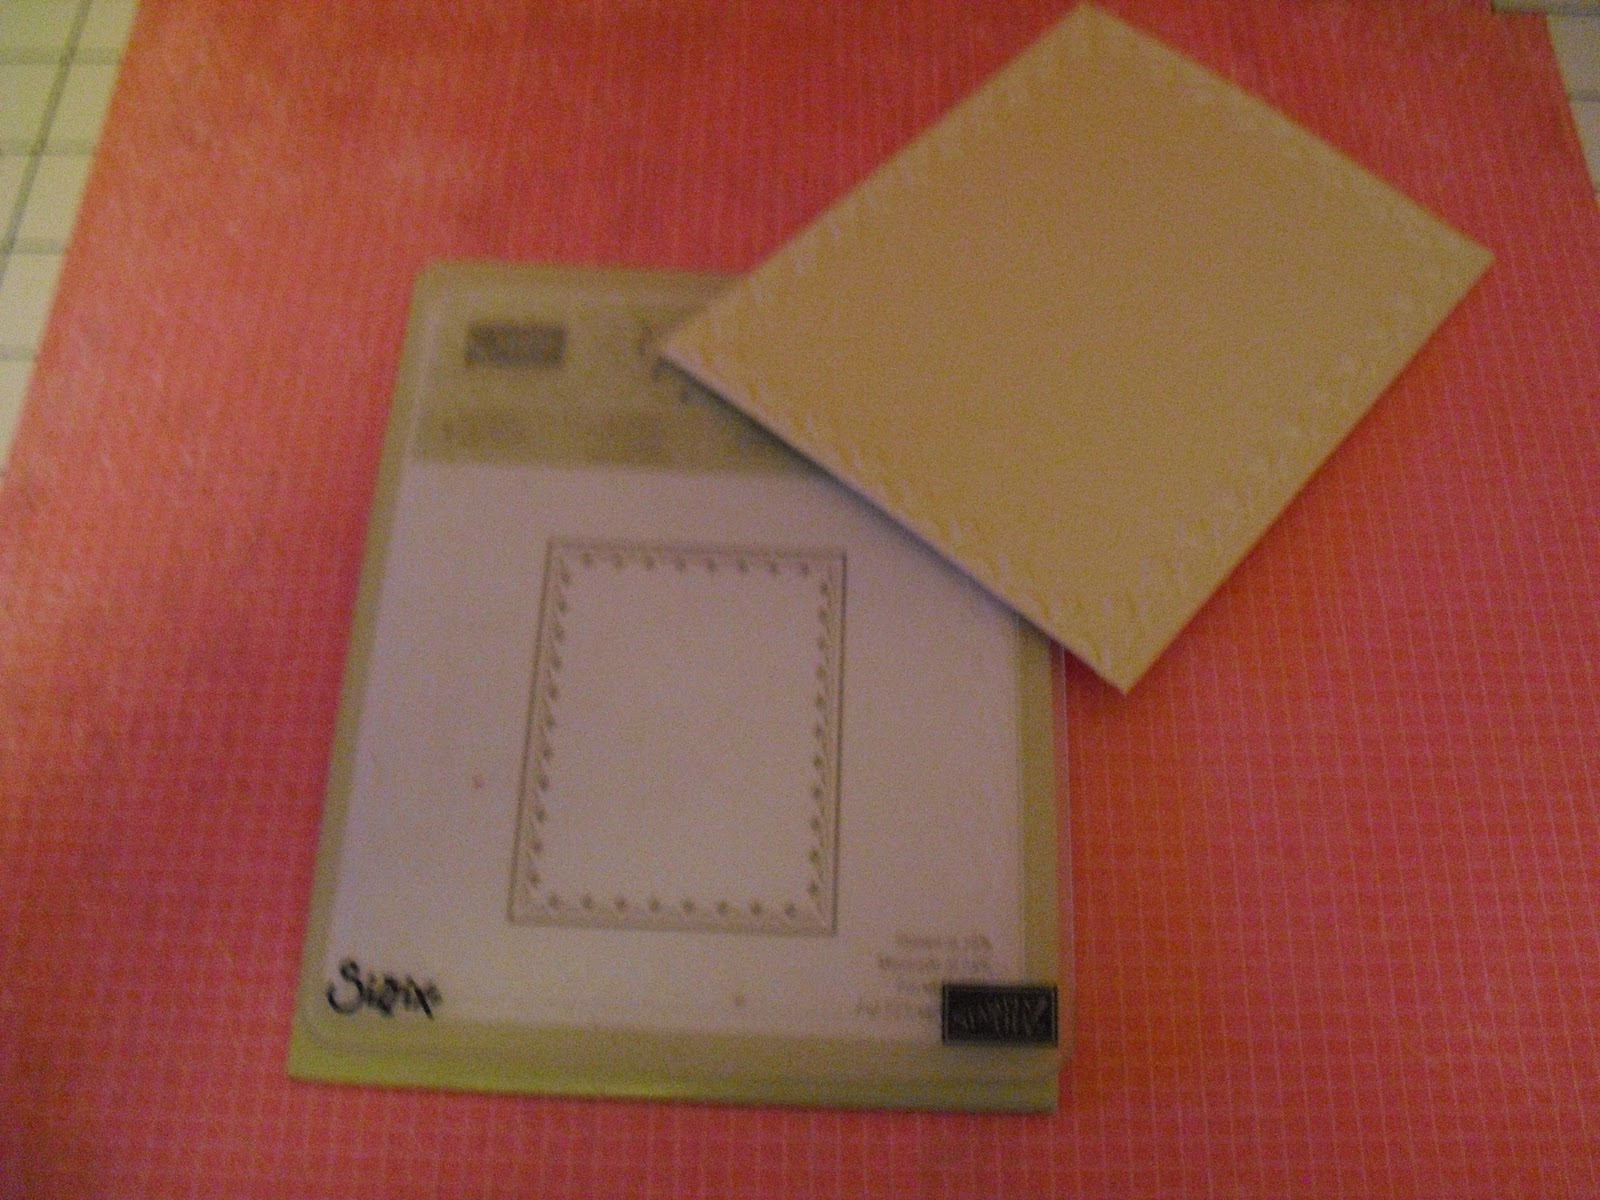
This is a side view of the carrot box which can be filled with lots of Easter candy.  I embossed the box with the Swiss Dots embossing folder, but you can't see it very well in this picture.
The last project is actually my favorite.  Yes this corset was also made with the Petal Cone die.  In addition to the Petal Cone die I used the Fancy Box die to cut a box and then glued the Petal Cone cutout to it.  This project would be ideal as a party favor.

Hope you like the ideas and I will definitely be posting more projects made with this fantastic die.  Enjoy your day and please come back again.

Sending you Embossed Hugs, Erlinda

Thoughts of Encouragement

Don't live with your treasure undiscovered and don't die with the treasure still in you.  Press forward.  Give birth to the dreams and desires that God has placed in your heart.

Friday, March 18, 2011

BAPTISMAL CARD

I am involved in our church's baptismal ministry and I work with families wanting to baptism their children.  It is a process of approximately three months and I work closely with the parents in preparing for the Sacrament of Baptism.  At times it feels like its taking too long, but I finally have a family that is ready.  I wanted to make them a card to congratulate them and this is what I made. 
Lattice BigZ Trellis (#115958)
This is the Lattice die from Stampin' Up which I cut out on the Big Shot in Chocolate Chip cardstock (CS).

From the lattice shape I cut out a cross.  
Top Note die (#113463) and Vintage Wallpaper embossing folder (#120175)
Also used the Top Note die and cut out the image on the Big Shot.  Then embossed the Top Note with the Vintage Wallpaper embossing folder (EF).
Took a 4" x 5" piece of Vanilla CS and embossed it with the Framed Tulips EF to give it a beautiful frame.
Crosses of Hope (#120567) and Modern Label punch (#119849)
Using the stamp set Crosses of Hope I stamped the verse in brown ink and shaded the edges.  Then mounted it at the bottom of the card.  Added a few rhinestones and my card is done.

Well I'm praying that God blesses this baby at her baptism.  It makes me feel good to know that I was a part of this baby's initiation into God's family.

Thank you for stopping by, have a great weekend, and may
"God Bless You."

Thursday, March 17, 2011

Beautiful Card Holder - Part II

This is the second half of my card holder.  I can't believe how nice this card holder came out.  I've decided to schedule a class on how to make this card holder, so check my calendar of classes. 
For some of the embellishments I used the Cricut cartridge Lyrical Letters, which has great phrases. 
The front and back covers of the card holder are chipboard covered with the designer paper (DSP) called "Lady Couture" by DCWV.  I used the DSP from this stack for my entire card holder. 
This is the last page and the inside of the back cover, but my decorating didn't stop there.  I wanted to make sure the back cover was just as stunning as the front.
I love the elegant vintage look, guess I can say it takes me back in time.  I hope you enjoyed this project and if you live in Vegas, Nevada, I invite you to come to my class.  

Come back and visit me soon.

Embossed hugs, Erlinda

Thoughts of Encouragement

In every moment of every day, God is by my side delighting in me, encouraging me, lifting me and calling me to step into all of the wonderful things He has prepared for me.

Wednesday, March 16, 2011

Beautiful Card Holder - Part I

On Monday,  I got together with my friends Lisa and Emily to make a spiral card holder.  This is Part I of my completed card holder.  I decided to post only half of the pages today and tomorrow I will show you the other half so that this post wouldn't be so long.  

I was very happy with how my card holder came out.  I used the new "Lady Couture" stack by DCWV.  I fell in love with this designer paper when I saw it at Michaels.  As you will see it has some gorgeous designs.
The card holder has a calender for each month of the year with space to write in birthdays, anniversaries, important dates, etc.  Thanks to Lisa, who printed out the calendars for us.  It has a pocket for each month in which you can save cards for those special occasions.
I embellished each page with flowers, rhinestones, pearls, ribbons, etc.  I used red and black card stock for the base of each of the pages.
I used a 3/4" black binding wire by We R Memory Keepers and with the "Cinch" bound all the pages together.  Or I should say, Lisa did all the hard work and bound the holder for me.  Thanks again Lisa. Please visit Lisa's blog @ http://cricutmomof2.blogspot.com
We've reached the half way point, so what do you think so far?  I'm ready to start another one as soon as I get some free time.  I promise to post the second half tomorrow, so come back and visit.

Embossed hugs, Erlinda

Thoughts of Encouragement

Keep God's incredible promises front and center in your life every day.  They can be found in your bible, if you only take time to read them.

Tuesday, March 15, 2011

Thoughts of Encouragement

Seek the Kingdom of God above all else, and live righteously, and He will give you everything you need.  -- Matthew 6:33

Monday, March 14, 2011

BLOSSOM PETALS REVISITED

Remember a couple of weeks ago I posted a card made with the stamp set "Build a Blossom" (#121994).  At that time I didn't own the Blossom Petals punch that coordinates with this stamp set.  Well I can scratch that one off my "wish list"-- I finally got the punch.  I made the flower for this card with the punch and the embossing folder (EF) Vintage Wallpaper.

Framed Tulips (#121809)
On a piece of 4" x 5"  Crumb Cake card stock I embossed the edges with the Framed Tulips embossing folder.  I am hooked on all of Stampin' Up's textured impressions embossing folders.  They just add so much elegance to the cards.

Finial Press (#115963)
For the following flower I used the Finial Press EF to give my flower this beautiful effect.

I embossed two quarter sheets of Eggplant Envy CS to cut the petals of the flower.


With a brayer I distressed the CS with Eggplant Envy ink.  This gives the design a very nice finish. 

Blossom Petals punch (#121808)
Punch out eight of the large petals to form the flower.
Glue down four of the petals as shows above.  With a stylus or a pencil curl the edges of the other four petals before gluing them down with a glue dot.
You're a Gem stamp set (#122270)
Stamped the word "friend" from You're a Gem.  Then added a metal ornament to the center of the flower and placed a small strip of lace ribbon to the Crumb Cake CS to embellish my card.

Placed mounting tape on the back of the embossed CS to add dimension and mounted it to a full CS base (same color).

Of course, I had to add my butterflies or it wouldn't be complete.  Used the Beautiful Wings embosslit (#118138) and the Little Leave sizzlits (#114511). 

Which one do you like best?  I think any color would look great.  I'm going to try yellow and white CS for the next couple of Blossom Petals I make.

I learned how to make these flowers watching the below video:

Thanks for visiting my blog.  I appreciate you spending time with me.

Embossed hugs, Erlinda 

BEAUTIFUL BUTTERFLIES


Good Monday morning everyone!

As you know, one of my favorites are butterflies and I love to use them on my projects.  I think they are one of God's most beautiful creations. 
Beautiful Butterflies (#114507)
For this birthday card I used Stampin' Up's Beautiful Butterflies.  You can cut four different sizes of butterflies so the possibilities to create with this die are endless.
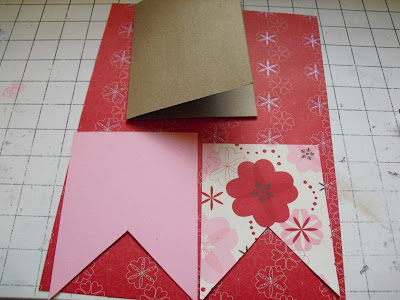
For the base of the card I used kraft card stock (CS).  Then I mounted Pretty in Pink CS cut at 4" x 5".  I measured 2" from the bottom of this piece and cut from the edge to the middle (2" mark) to form a triangle.  Using the Sending Love (#117153) designer paper (DSP) cut at 3 3/4" x 4 3/4" repeat the same as steps to form another triangle.
Cut a piece of Real Red CS at 1" x 4" and using the Scallop Trim Border punch (#118402) punch a strip to add to the top of the card.  For the butterfly I used the Sending Love DSP.
Back view of butterfly
To form the antenna of the butterfly I used black crafting  wire which I taped to the back of the butterfly with clear Scotch tape.  

I added a pearl to the head of the butterfly and its ready to fly.  Tomorrow I have another butterfly card using the Beautiful Wings embosslit.
 

Thank you for stopping by and I hope you can come back again. 

Embossed hugs, Erlinda


Thoughts of Encouragement

Today, think positive thoughts of hope, faith, and victory.

Friday, March 11, 2011

BLISS

Webster's dictionary describes "Bliss" as:  1.  great joy or happiness  2.  spiritual joy; heavenly rapture.  "Bliss" is the name of this stamp set which is one of the Sale-a-Bration (SAB) sets that are free with any $50 Stampin' Up order. 

Butterflies are one of my favorites, so when I saw this set in the SAB catalog I knew I had to get it.  I stamped both the butterflies and motif with red ink on white card stock and then I cut out the butterflies with scissors.  On this card I used red rhinestones.
Bliss (#123217)

Sale-a-Bration ends at the end of March, so if you want to get this stamp set for free you need to do some shopping before the end of the month.  Hopefully you will decide to visit my Stampin' Up website @ www.erlindastamps.stampinup.net, and place an order.  Or you can contact me through email @ www.erlindastamps@gmail.com.


Same card made with Perfect Plum and Pale Plum CS.  I added lots of tiny pearls to both the motif and the butterflies.  Stamped the word "friend" from "You're a Gem" stamp set (#122270).

Not a very good picture, but I wanted you to see the pearls. 

Framed Tulips embossing folder (#121809)

This is the embossing folder I used on both cards, Framed Tulips.  It gives the cards a very elegant look.  I hope you liked these cards.  If you have any questions, please leave me a comment. Thank you for stopping by, enjoy your weekend, and please come back and visit anytime.  

Embossed hugs, Erlinda

Thoughts of Encouragement

Father, I don't want to be a doubter; I am a believer.  I trust You to lead me in the right direction as I break through the barriers in my mind.  Thank you, Father, that You have good things in store, not just for me, but for my entire family!
Related Posts Plugin for WordPress, Blogger...