CLICK HERE FOR FREE BLOG LAYOUTS, LINK BUTTONS AND MORE! »

Thursday, March 10, 2011

SCALLOP CIRCLE CARD

Sending Love DSP (#117153)
I recommend you check out the Clearance Rack at Stampin' Up's website for this beautiful specialty designer paper (DSP).  It is called "Sending Love" and the package contains 12 sheets of 12 x 12 DSP.  At only $4.99 a package it is truly a bargain.
Scallop Circle (#113468)
To make this scallop circle card I used a 5 1/2 x 8 1/2 piece of Real Red CS folded in half.   With the scallop circle die I placed the CS slightly below the cutting edge to keep it from completely cutting at the fold line. 

Flower Folds (#115970)
Next, I used the Flower Folds die to cut the smaller three flowers out of the Sending Love DSP.

With the 1/4" hand-held circle punch I punched all around the front of the scallop circle.

With the rectangle punch I punched two slits at the top of the scallop circle and inserted white grosgrain ribbon to create the "cheaters" bow.
The DSP is double sided so I alternated designs and mounted the three cut flowers to the scallop circle, added a white silk flower and a pearl to finish my card.  Hope you like it.

Thanks for visiting and come back again soon.


Embossed hugs, Erlinda


Thoughts of Encouragement

If you don't think your dreams will ever come true, they never will.  If you don't think you have what it takes to succeed and set a new standard, it's not going to happen.  The barrier is in your mind.

Wednesday, March 09, 2011

FUN FLOWERS

This coming Thursday, my friend Vicky Lopez from Kreation Korner is hosting a shoebox card swap and the theme is birthdays.  This is my swap.  Let me show you how you can make this card. 
Fun Flowers die (#121812
I used Stampin' Up's (SU) Fun Flowers die and cut these pretty flowers on the Big Shot.  Within a few minutes I had quickly cut 12 sets of flowers to prepare my shoebox card kits with Real Red card stock. 
Vintage Wallpaper EF (#120175)
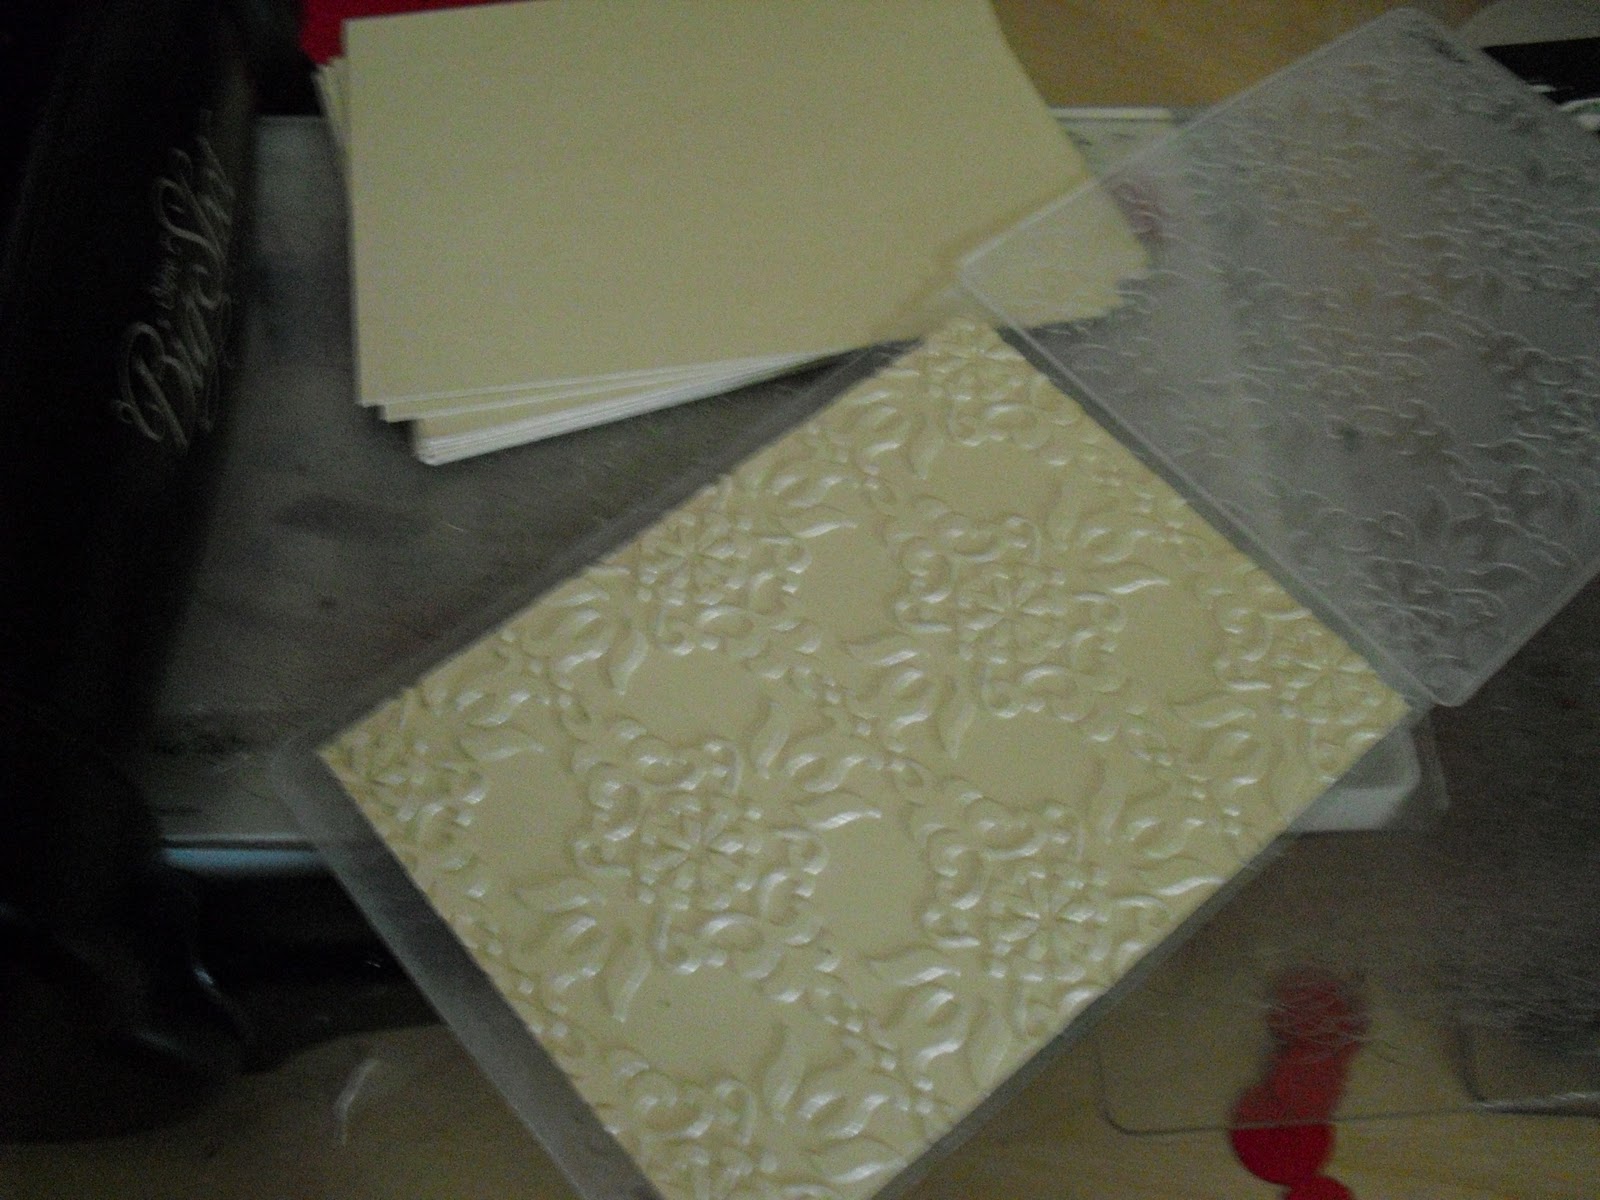
With the Vintage Wallpaper embossing folder (EF) by SU, I embossed this pretty image on vanilla CS. 
You layer the three flower shapes on top of each other.  I curled and shaded the edges with brown ink.  Then glued a pretty red heart button to the center of the red flower.  Mount the embossed CS onto a kraft card base and then add your flower to the card.

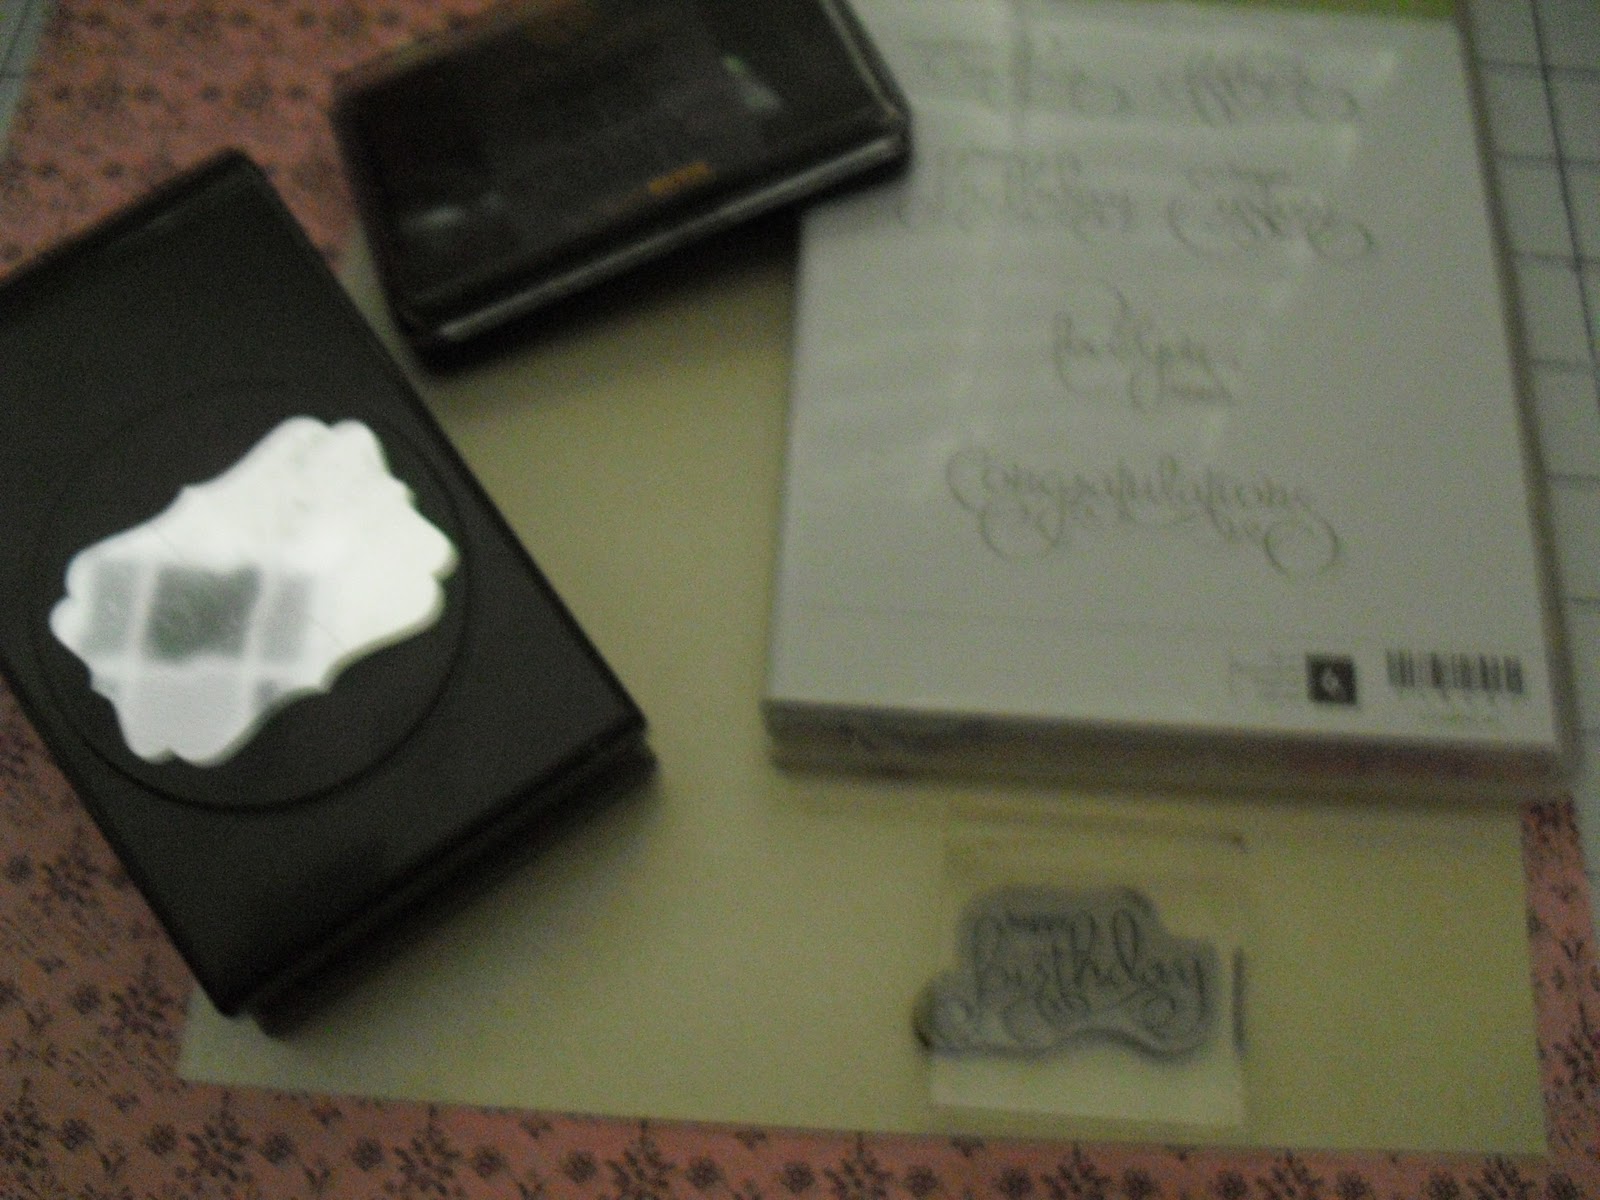
Well Script stamp set (#118601) & Decorative Label punch (#120907)
I stamped "happy birthday" from the retired Well Script stamp set on vanilla CS and then cut the verse with the Decorative Label Punch.


To get the 3 layer effect of the label, you will punch out two additional labels, one in red and another in kraft CS.  Then cut each label as shown above. 


Now you're ready to glue the cut labels to the back of the original stamped label leaving about a 1/4 of an inch of each label showing. 
This is the view of the back and front of the label.  I placed mounting tape on the back of the label and adhered it to my card.  Also, added a small piece of Chantilly ribbon (#118480) and my card is done.  
I am looking forward to attending the shoebox card swap.  This is the first time this group will meet on a monthly basis.  The card swap will take place the second Thursday of each month.  For additional information visit Vicky's blog @ http://kreation-korner.blogspot.com.  

Come again and let's share some time creating.

Embossed hugs, Erlinda

Thoughts of Encouragement

Reach out and be a blessing to someone today.

Tuesday, March 08, 2011

FABULOUS FRIEND

Oval All stamp set (#113790)
Recently, I bought the Sending Love (#117153, $4.99) specialty designer paper (DSP) from the Clearance Rack of Stampin' Up.  I love, love all the paper in this pack.  It contains 12 sheets of double-sided 12 x 12 designer paper.  

For this card I used both sides of one of the sheets and still had about half a sheet left.  For the flower please refer to my post dated January 18, 2011, Scalloped Circle Flower Tutorial for step by step instructions.
This is what the card looks like once you open it.  Isn't it beautiful!  Let me show you how to make this card.
  
Sorry for the dark picture, I think I needed better lighting. It's also upside down.  Anyways, take a 12 x 12 Kraft card stock (CS) and cut it at 6" x 12".  Then score this piece at 3", 6" and 9".  Crease and fold the CS.  From the Sending Love DSP cut (4) pieces at 2-3/8" x 2-3/4" for the top.  Cut (4) pieces at 3-3/8 x 2-3/4" for the bottom part.  Adhere the pieces to the Kraft CS, alternating each side of the DSP. 
Scallop Oval  (#119856)
Stamp "Fabulous Friend" from the Oval All stamp set with Basic Brown ink on Pretty in Pink CS .  Use the Scallop Oval punch to cut the verse.  Shade with brown ink and use mounting tape to adhere to the top of the front of the card.
Punch Potpourri (#120124)
I used the butterfly, bird and heart images from this set and stamped them on white CS with pink ink.  I also shaded all the images with brown ink. 
Full Heart (#119883, Two-Step Bird (#117191) and Butterfly (#119848)
What I love about this stamp set is that it coordinates with four of the Stampin' Up punches.  This makes it so easy to stamp and punch the images out.  If you have the stamp set and not the punches, of course you can always cut them out with scissors.
Oh, I forgot to mention, the leaves on the flower and butterfly are cut with the Big Shot and the Little Leaves sizzlits die (#114511).  I also sprayed shimmer on all the images

Hope you will try making this card yourself.  Even if you don't have the supplies I used, it makes a stunning card for someone special.  

If you would like to order any of the above supplies, please go to my website or click on the Order Stampin' Up on line on the left side @ www.erlindastamps.stampinup.net.  Thanks for stopping by.

Embossed hugs, Erlinda


Thoughts of Encouragement

Start believing that things are going to change for the better, not because you deserve it, but simply because God loves you that much!

Monday, March 07, 2011

HAPPY EASTER !

Good Monday morning everyone.  My crop on Saturday was a success.  I want to thank all the ladies that attended and especially Lisa Monter for all her help.  Please visit Lisa's blog @ www.cricutmomof2.blogspot.com. 

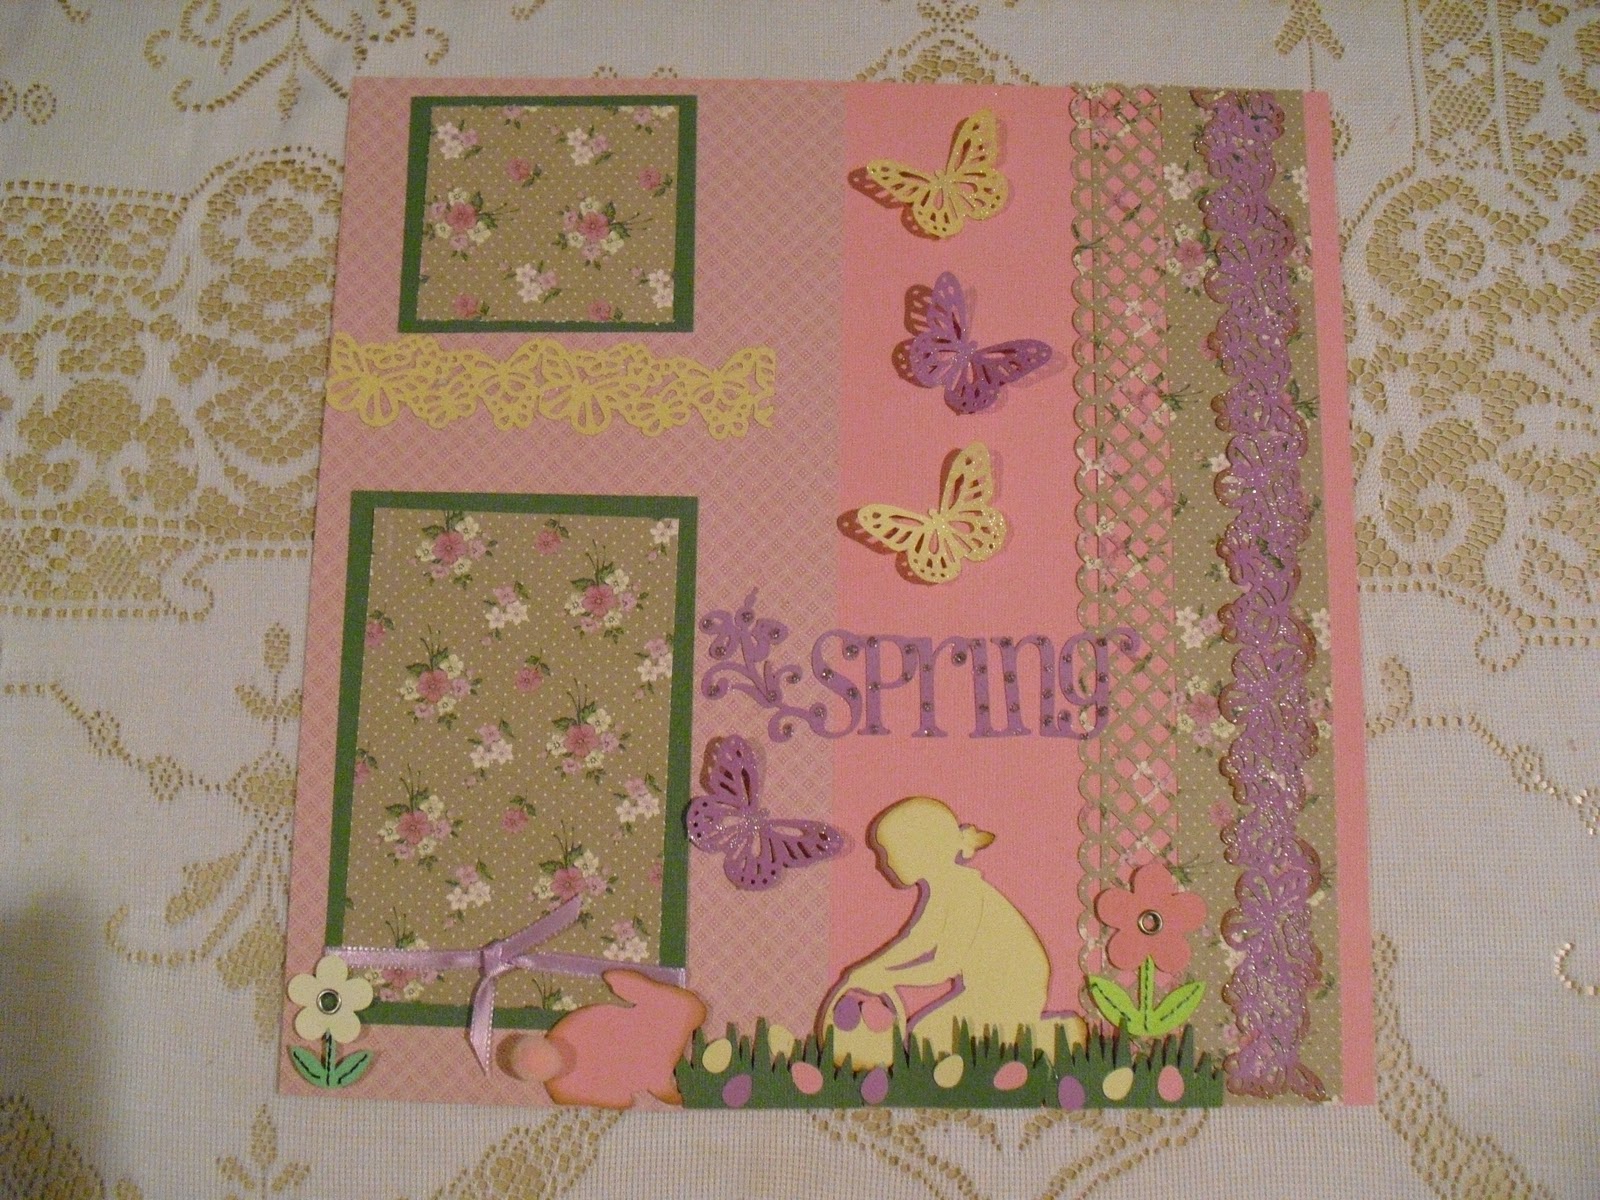
This is the Easter layout that I had prepared to show my guests.  They liked it so much they asked me to plan a class, so check my calendar for an upcoming class.


Stampin' Up Springtime Vintage designer paper
Martha Stewart punches
Cricut cartridge A Child's Year
Cricut cartridge Easter 2010

Hope you liked the layout and maybe consider attending my class.  I would love to show you how to make this project for Easter.  Thanks for taking time to visit.

Embossed hugs, Erlinda

Thoughts of Encouragement

God has so much more in store for us.  God's dream for your life is much bigger and greater than you can image, if you believe.

Friday, March 04, 2011

Thoughts of Encouragement

God is your source, and His creativity and resources are unlimited!  God can give you a fresh dream.  He's not limited by what you have or what you don't have.  God can do anything, if your believe.

CRUISIN' INTO SPRING

Tonight is the St. John Neumann Church "Cruisin' Into Spring" dinner/dance.  I was fortunate to be on the decorating committee and this was my assignment.  I used the Life Is A Beach cartridge by Provo Craft to cut out all the letters and images on my Cricut to decorate the board.

I started out by gluing the waves to the board.  Now I had no idea as to the measurements or exactly what I was going to do.  I think by the grace of God I managed to use everything I had pre-cut to come together.
These were some of the images I precut and used on the board. 
Now this is the almost completed board.  Yesterday, when I took the picture I came back home to cut some more images.  I felt it still needed a couple of more items. Doesn't look too bad for a novice or what do you think?
I will be adding a few more of the above images.  I'm really excited about the dinner/dance. We sold over 150 tickets so its going to be well attended.  Who knows I may get asked to dance.  Oh well, a girl can dream.  I  am looking forward to a delicious meal prepared by reknown Chef Gustav Mauler from the Spiedini Ristorante.
 
My fabulous weekend starts tonight and then on Saturday I'm hosting a free Pizza Crop.  Heaven knows what God has in store for me on Sunday.  Hope your weekend is also blessed.  See you again next week and thanks for dropping by.  

Embossed hugs, Erlinda

Thoughts of Encouragement

Lord, please help me to see with my "spiritual" eyes, seeing not merely those things that currently exist, but those things that can become realities in my life.  Amen

Thursday, March 03, 2011

BEAUTIFUL BUTTERFLIES

I love butterflies and when I saw this card, I knew I had to make it.  This is a 3" x 3" butterfly easel card.  You can go to www.addinktivedesigns.blogspot to learn how to make an easel card.

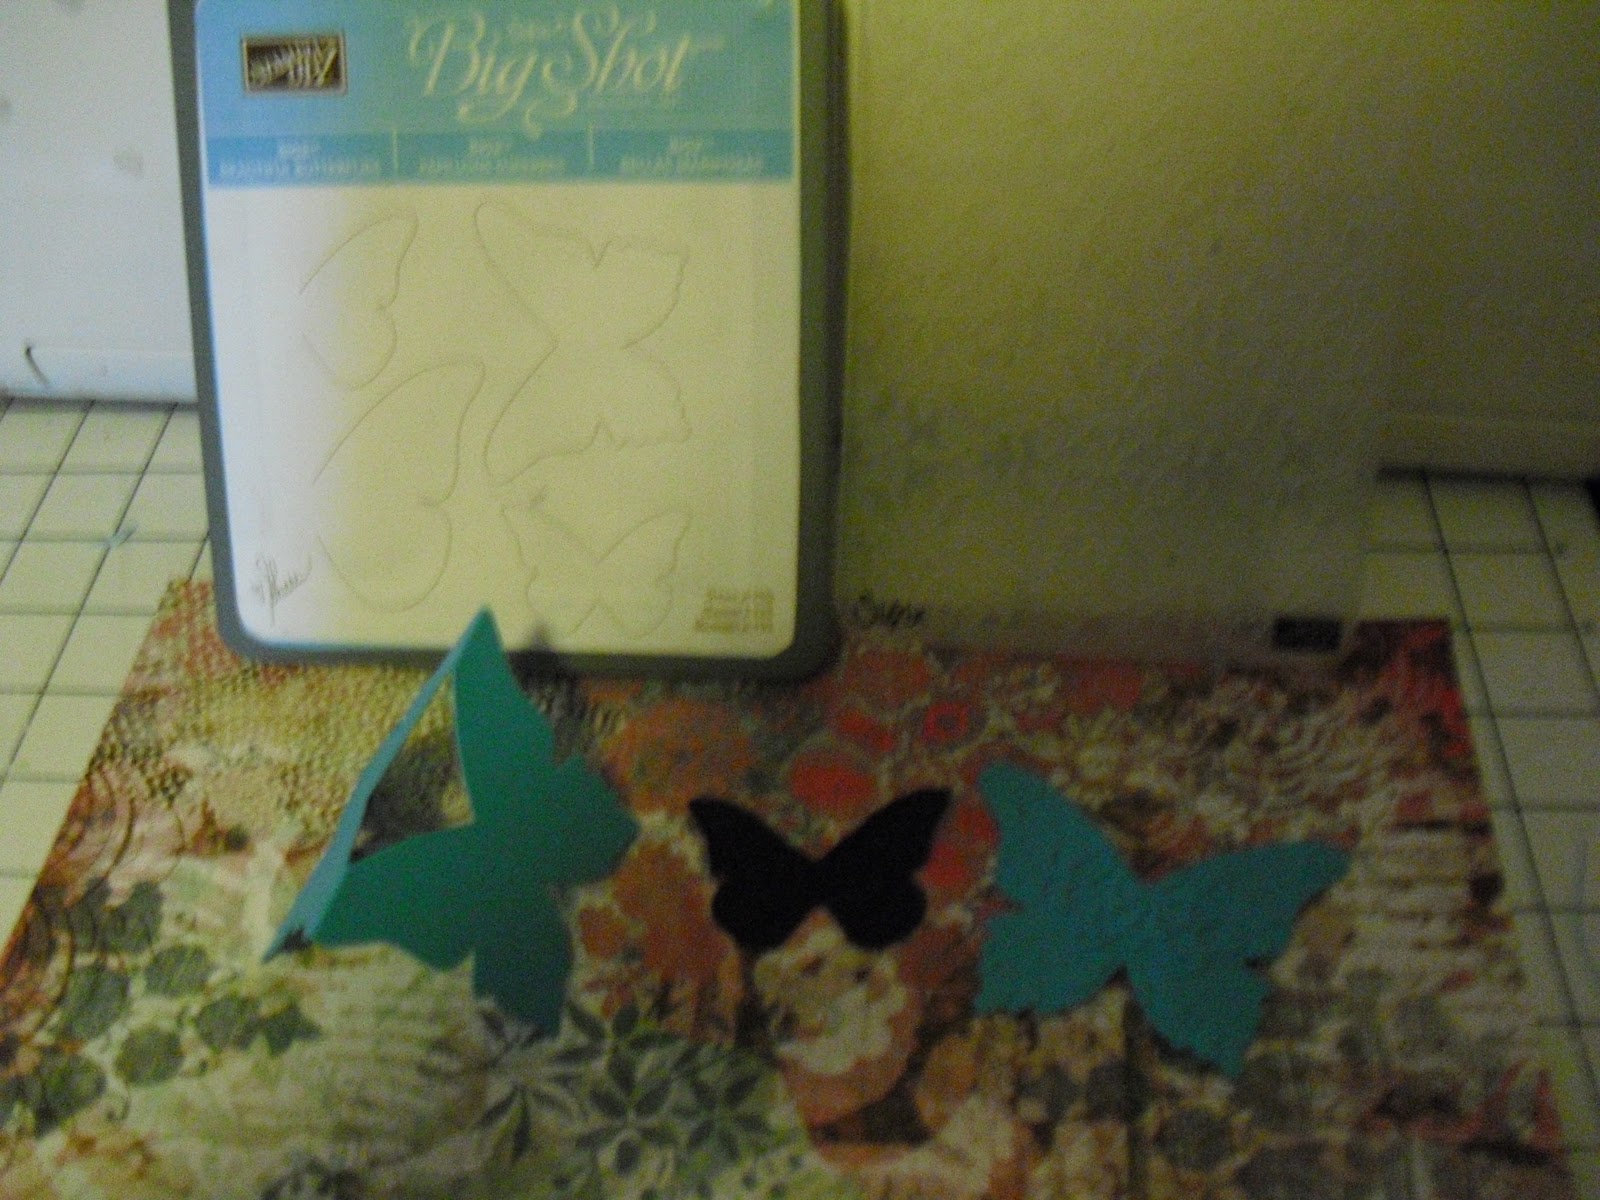
Beautiful Butterflies (#114507)
Score a 3" x 6" piece of card stock through the middle.  Line up the folded piece over the medium size Beautiful Butterflies Die, leaving a small part of the butterfly's wings below the cutting line and run it through Stampin' Up's Big Shot.

You will also cut another single medium butterfly and one small butterfly.  Emboss both butterflies with the Vintage Wallpaper embossing folder (#120175).  Embossing the butterflies makes them look even prettier. 
Beautiful Wings (#118138)
With the Beautiful Wings embosslit, cut one more butterfly. Layer and glue the butterflies as shown above.  Fold over the wings on the base butterfly and glue the single butterfly to the base.
I stamped "friend" from the You're a Gem stamp set (#122270) and my card is complete.
You can use these butterflies as thank you notes, name place settings, gift tags, scrap page embellishments, etc.
If you'd like to purchase any of the items I used to make these beautiful butterflies, please visit my website @ www.erlindastamps.stampinup.net.

Thank you for stopping by, Erlinda

Thoughts of Encouragement

Lord, take away my confusion.  Give me clarity and direction.  Please remove all that gets me off-track.  I want to be efficient in all that I do.  Amen.

Wednesday, March 02, 2011

My Shadowbox Tray

I bought this shadowbox a few months back, and the best thing about it was that it was in the clearance shelf.  I love it when I find a bargain.
The shadowbox is a product of 7 Gypsies.  The other embellishments I used were hodgepodge that I've accumulated and could finally use on this project. 
I lined several of the sections with designer paper by K&C Company.  I think its very pretty paper.  I also used this paper for the butterflies.
I punched out the butterflies with the Martha Stewart monarch butterfly punch and then I sprayed them with Shimmer Sparkle by Tsukneko.
The ribbon and keys give my shadowbox tray 
a very Victorian look and I love it!  I'm thinking I want 
to make another one fairly soon.

Hope you liked this creation and if you think of 
anything else I could add to it, just leave me a comment.  Thanks for visiting and come back soon.


Embossed hugs, Erlinda

Thoughts of Encouragement

By wisdom a house is built, and through understanding it is established, through knowledge its rooms are filled with rare and beautiful treasures   -- Proverbs 24:3-4

Tuesday, March 01, 2011

FLOWER FOLDS

Yesterday, Lisa, Emily and myself got together to create these beautiful flower pins, bracelets and headbands.  They are made with the Flower Folds bigz die (#115970) by Stampin' Up. 
Lisa's first attempt at making these pretty flowers turned out great. She added her own personal touch to make this pretty pin.
Emily turned hers into a headband.  All it needs now is a pretty gem stone which she plans to finish at home.
With a little bit of help, my granddaughter Angie made this one as a bracelet.   You could tell she was proud of her creation.  Angie is only 9 years old and she loves to craft.
  

I made  three headbands for these pretty little girls.  I think they make beautiful models.   The flower folds are so easy to cut on the Big Shot and you can quickly assemble them.  

I really enjoy getting together with my friends, not only because we get creative doing crafts, but because we are creating friendship memories.  Can't wait until we get together again.  

Hope you come back and create some memories too.  Thanks for visiting.

Embossed hugs, Erlinda


Thoughts of Encouragement

Make tomorrow's To Do list before you go to bed tonight.  Share your list with the Lord and ask Him to help you honor this list.
Related Posts Plugin for WordPress, Blogger...