CLICK HERE FOR FREE BLOG LAYOUTS, LINK BUTTONS AND MORE! »

Wednesday, November 27, 2013

Christmas Mini Album

 
Wednesday is here!
 
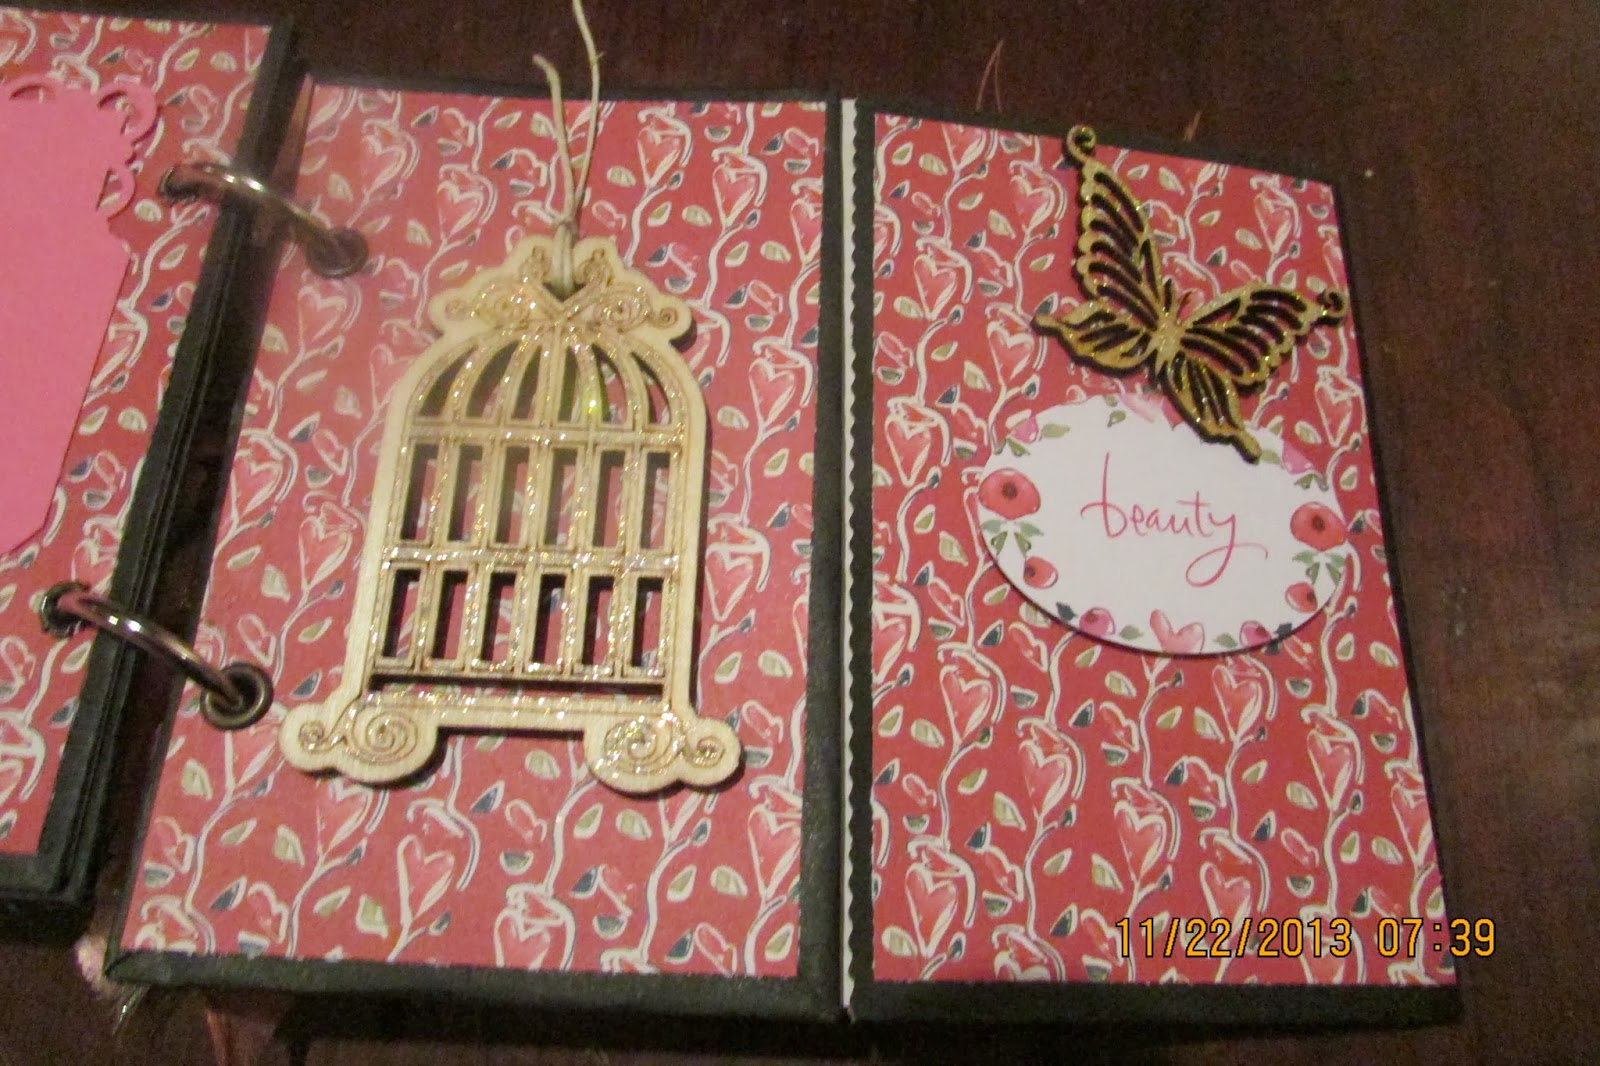
Here's a mini Christmas paper sack album I started at the  Thankful Crafty Get Together Crop.  I finished it last night and would like to share it with you today.


Inside each paper sack I placed a photo tag embellished with a pretty poinsettia.

 
Supplies used:
 
Merry Little Christmas paper pad
Botanical Noel paper pad
Recollections stickers
Celebrate It white paper sacks 3.5" by 6.75"
rhinestones
 
Wishing everyone a Happy Thanksgiving!


Monday, November 25, 2013

BELIEVE

 
Welcome back!
 
I finished this layout this weekend at the Thankful Crafty Get Together Crop at my friend Lisa's house. I used the Christmas Past Collection by Graphic 45.  The story of  "Twas the night before Christmas ..." is written in the center of the layout.

 
The reindeer and the title were cut with Close To My Heart's Artbooking Cricut cartridge.  Both reindeer and title were decorated with Stickles. 

 
Glittery snowflake brads by Recollections separate the photo mats.  The layout is simple but beautiful.  Thanks for visiting.


Erlinda

Friday, November 22, 2013

Paper Sacks Mini Album

 
Good Friday morning!
 
I've enjoyed working on this pretty paper sack mini album which I love the way it came out.  I hope that you like it too.
 
 
Although I didn't take pictures of the inside of each sack, they open up to reveal a different design. The white doily edge tucks into the opposite side to keep it closed.  I used five of the black Celebrate It sacks that measure 4-5/8" x 8-5/8".


These are the sacks I used.  To make the album all you have to do is fold the edges together and then begin to decorate each sack  There are several tutorials out there that show different variations.  I enjoyed watching Steff Miller's tutorial @ http://www.ustream.tv/recorded/39294803.
 
 I'm looking forward to attending a Thanksgiving crop with special friends this weekend.  Hope everyone has a wonderful and blessed day.
 
 
Erlinda
 

Monday, November 18, 2013

Christmas Gift Card Holders


Welcome back!
 
Life is back to normal after a hectic week of crafting for our church's annual craft fair.  I enjoy shopping for Christmas gifts, but then there are people that it's much easier to just give a gift card.
 
 
These gift cards were made with the We R Memory Keepers Envelope Punch Board. 

 
They are made by creating a matchbox measuring 4 -/4" x 5-1/2", so they fit perfectly into a A2 envelope.

 
I used Martha Stewart and EK punches to create the trims.  This year, DCWV has several Christmas paper stacks which are beautiful.  I used the Christmas Creations stack to decorate the gift card holders.


As you open the card, out pops a pocket where you can place a gift card or cash.
 
For a great tutorial check out Jackie Topa's video @ https://www.youtube.com/watch?v=ZvhXT1elFe4

 
Erlinda
 

Wednesday, November 13, 2013

She's Crafty Party!

 
Hi everyone!
 
Today I have a different type of craft to share.  I had a wood sign party at my home a few days ago and these are some of the signs my guests made.


I really enjoyed making these signs with the company of 11 ladies.  The party was sponsored by Lilli Rodriguez @ https://www.facebook.com/ShesCraftyHomeCraftParties
 
 
Erlinda
 

Monday, November 11, 2013

Graphic 45 mini album

 
Are you amazed that Christmas is coming so quickly?  I've been working hard, making crafts for our annual church Christmas Craft Fair.  Here's a mini album made with some left over scraps from Graphic 45 papers.  Also decorated the front cover with Prima and Recollections flowers.


I used scraps from A Ladies Diary and Le Romantique.  Both paper lines have beautiful images.  The edges of my mini were decorated with the Martha Stewart doily punch.
 

There's several pockets to this mini where you can store more pictures or tags.
 
 
The album measures approximately 3 1/2" x 9".


 On this page I added an extra tri-fold mini, tied with a sheer pink ribbon and a pocket for tags.
 
 
This is the open view of the tri-fold mini.  There's space for more photos.
 
 
On the back I added a pretty butterfly medallion.  Hope you enjoyed this project.
 
Please leave me a comment if you liked this mini.
 
 
Erlinda


Related Posts Plugin for WordPress, Blogger...